Build a report
A report is a sentence you build one step at a time: Points on a project, where they meet some conditions, grouped by what you count them by, showing the columns you want, sorted by an order. Each change runs the report again, so you see the result as you go.
Start a report
Section titled “Start a report”-
Click Reports at the top of the screen, then New report.
-
Pick a shape to start from:
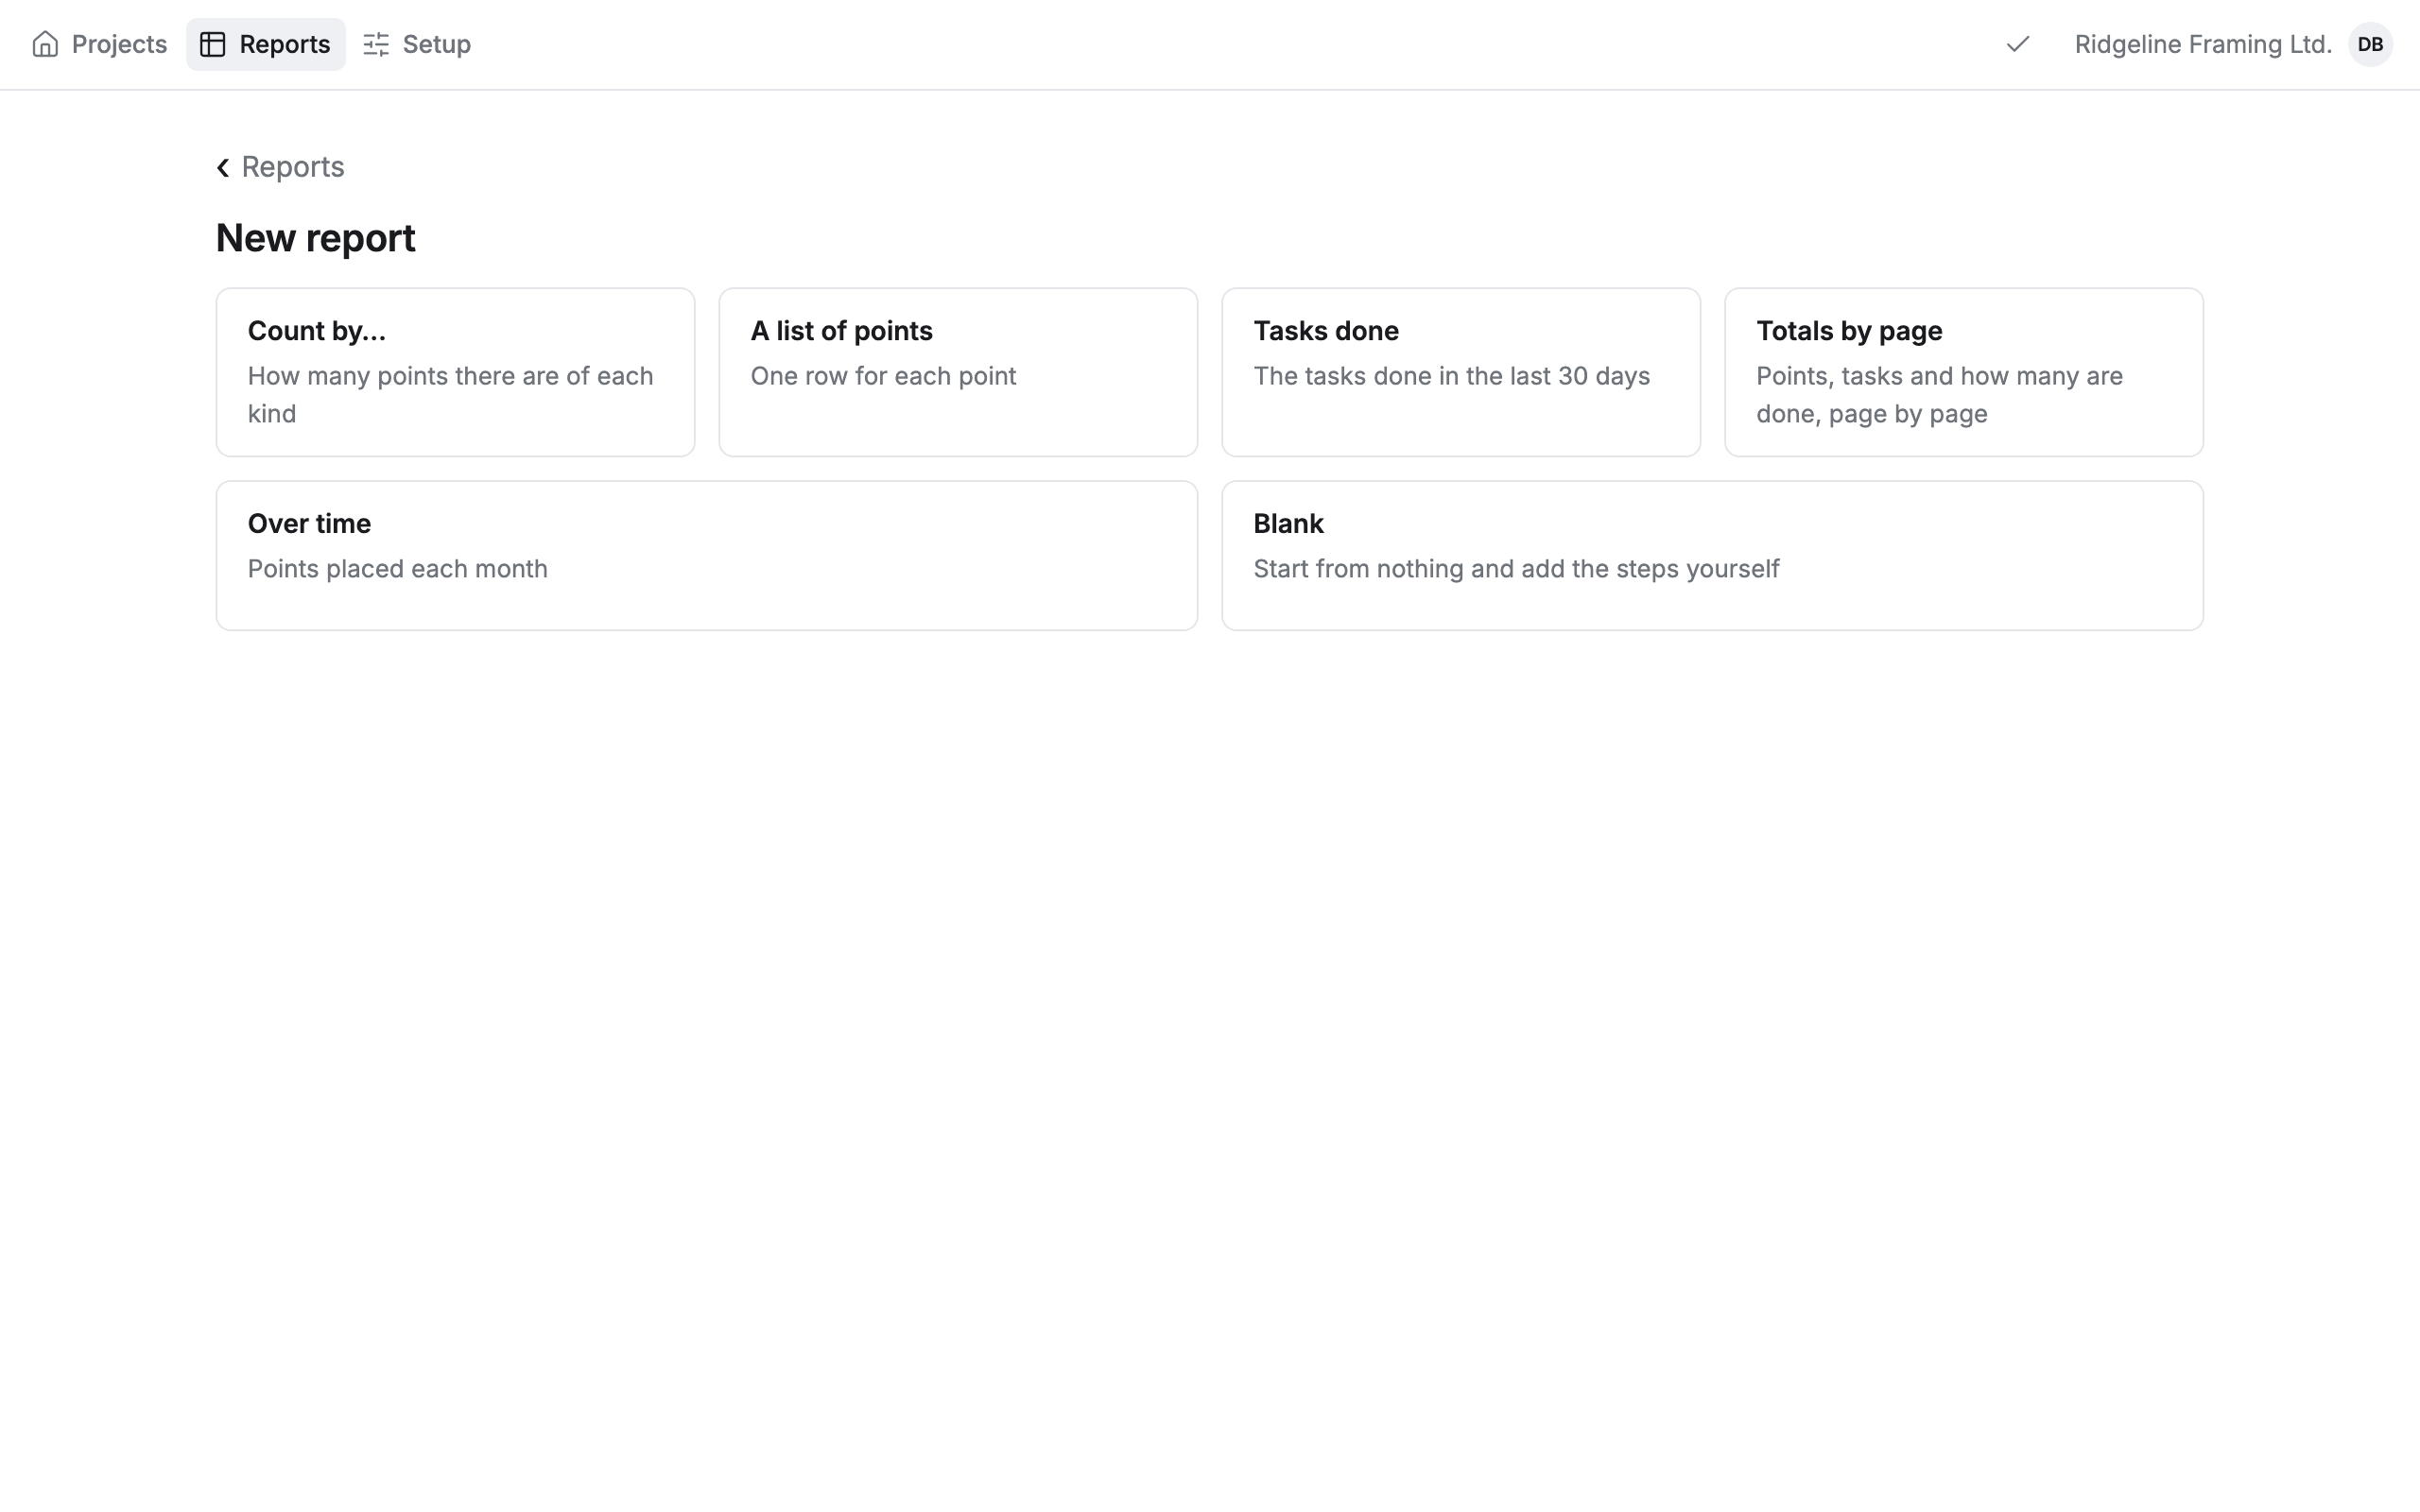
- Count by…: how many points there are of each kind.
- A list of points: one row for each point.
- Tasks done: the tasks done in the last 30 days.
- Totals by page: points, tasks and how many are done, page by page.
- Over time: points placed each month.
- Blank: start from nothing and add the steps yourself.
-
The report opens as Untitled report, run on a project. To run it on another one, click the project’s name after Points on and pick one.
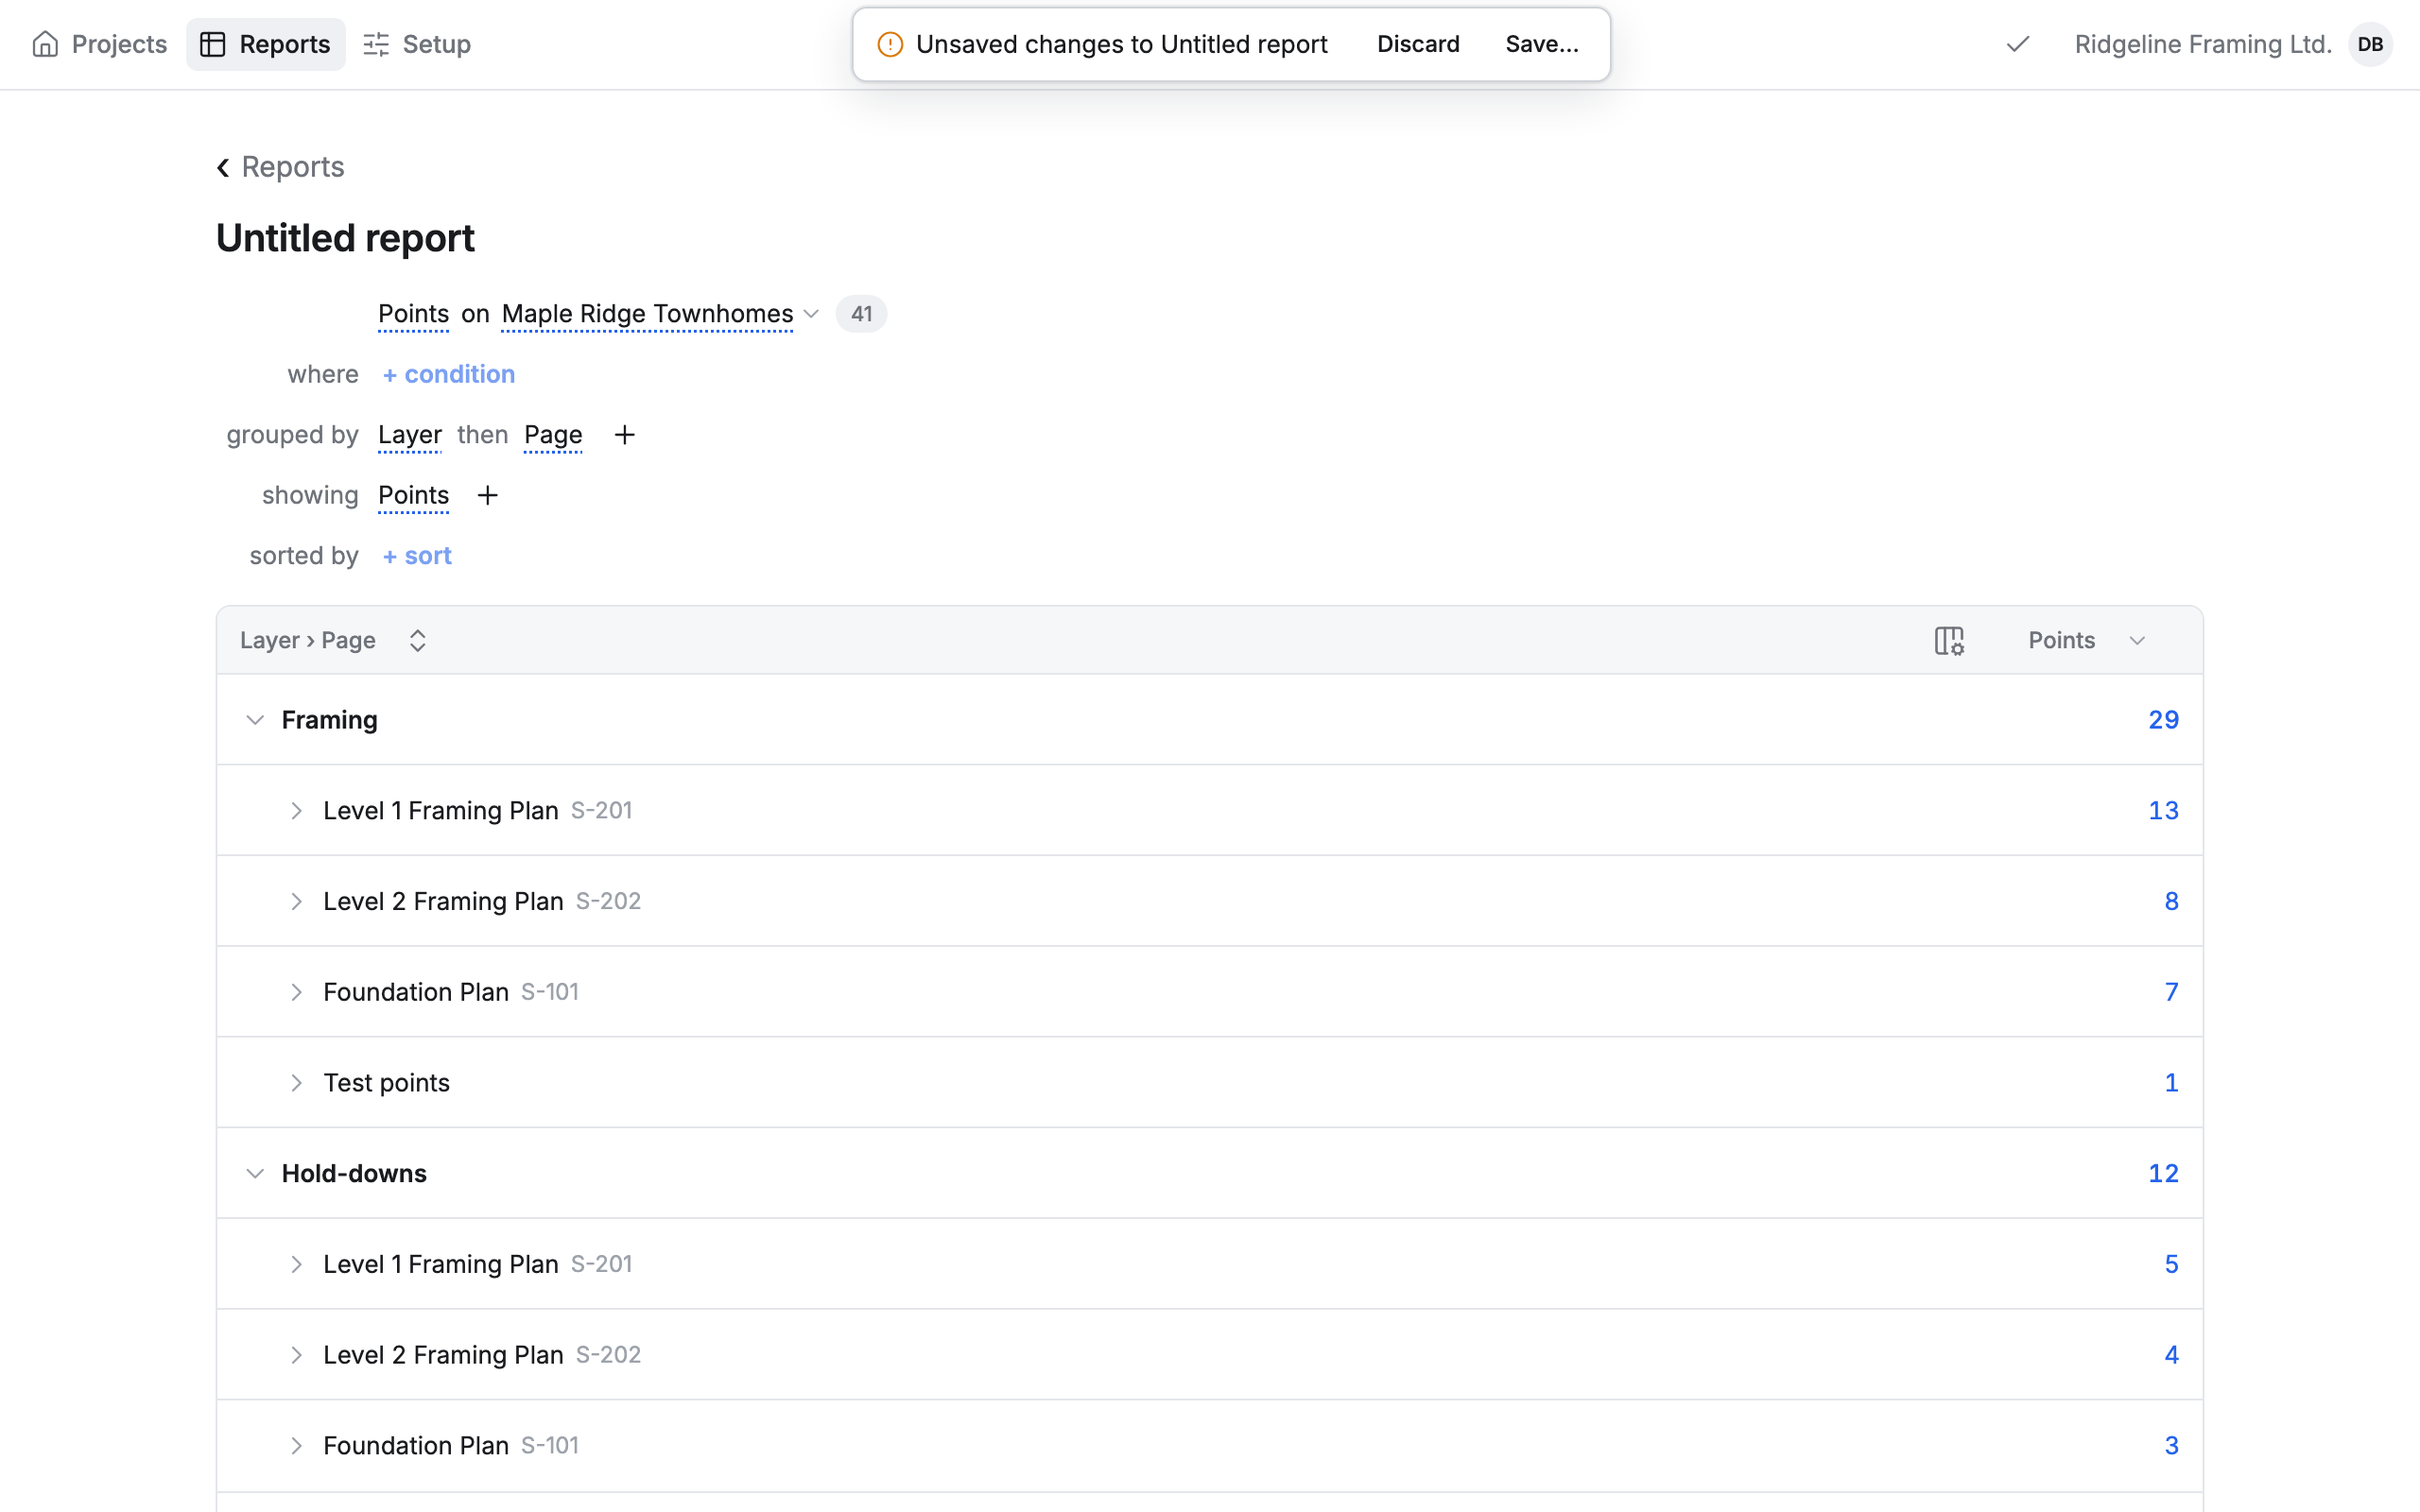
The bar at the top says Unsaved changes to Untitled report until you save it. Every word with a dotted line under it can be changed: click it.
Points or tasks
Section titled “Points or tasks”A report counts points or tasks. Click Points at the start of the steps to switch:


- Points: each point counts once. “Points on Maple Ridge Townhomes” with the number of points there.
- Tasks: each task on a point’s card counts once, so a point with three tasks counts three times.
Pick the points
Section titled “Pick the points”Conditions narrow the report to the points you want. A report with no conditions counts every point in the project.
Add a condition
Section titled “Add a condition”-
Click + condition after where (or the + after the conditions already there).
-
Pick what to test from the list, or type a few letters in Find a field to narrow it.
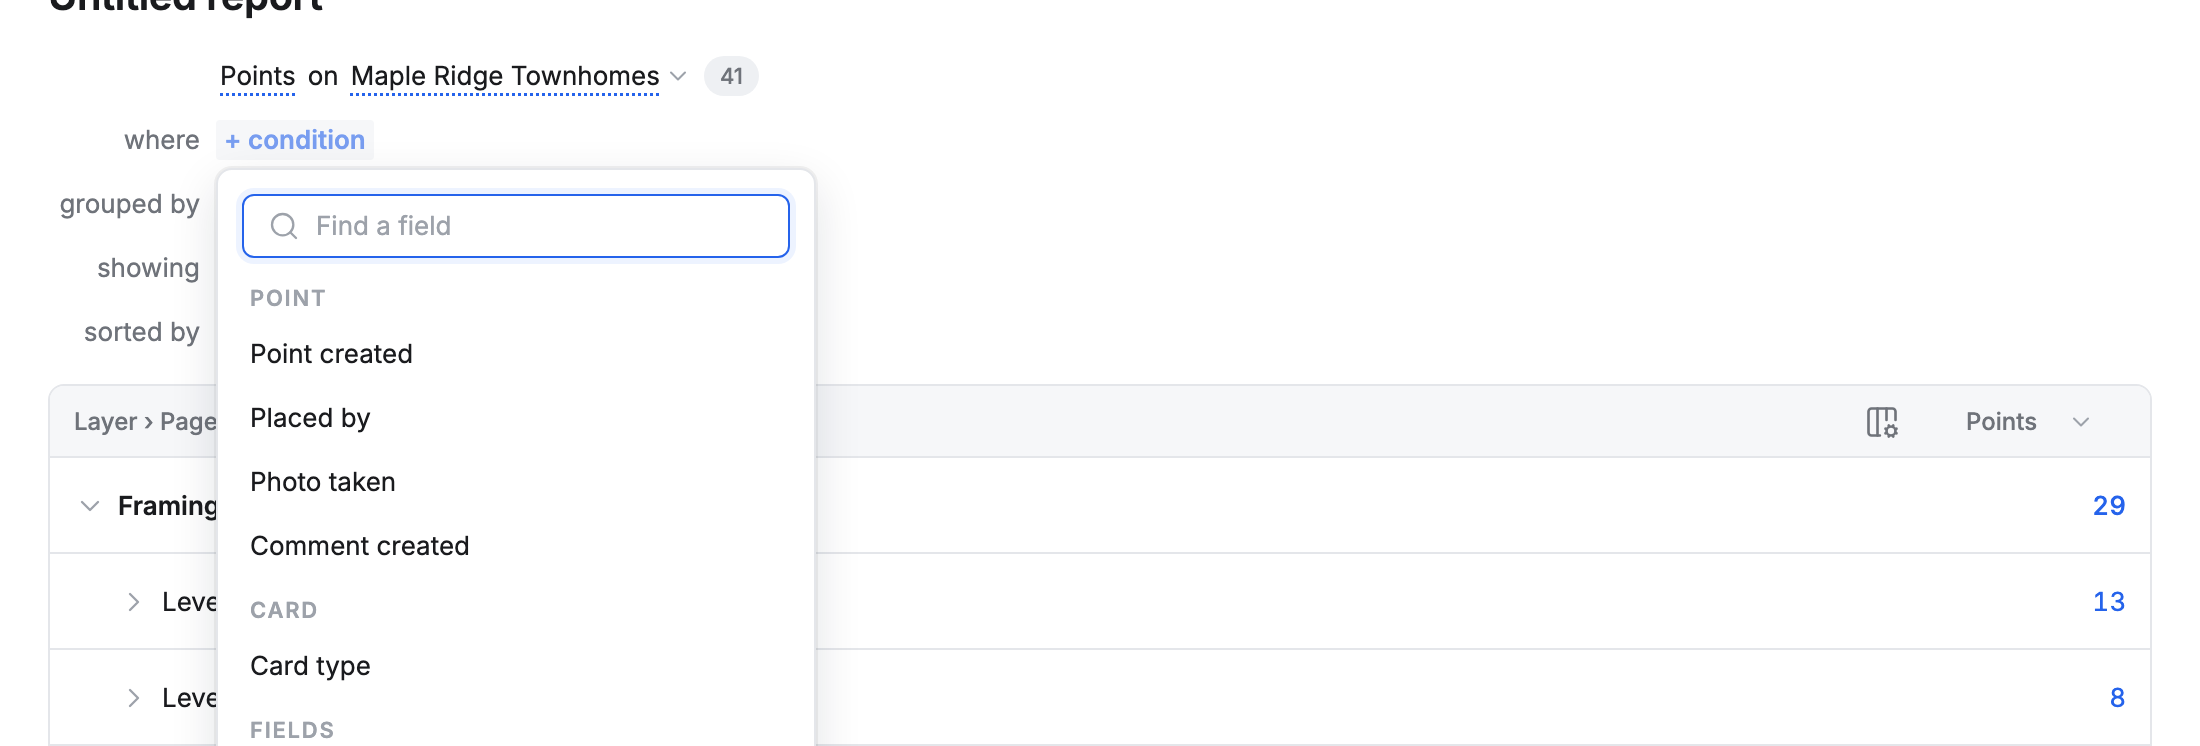
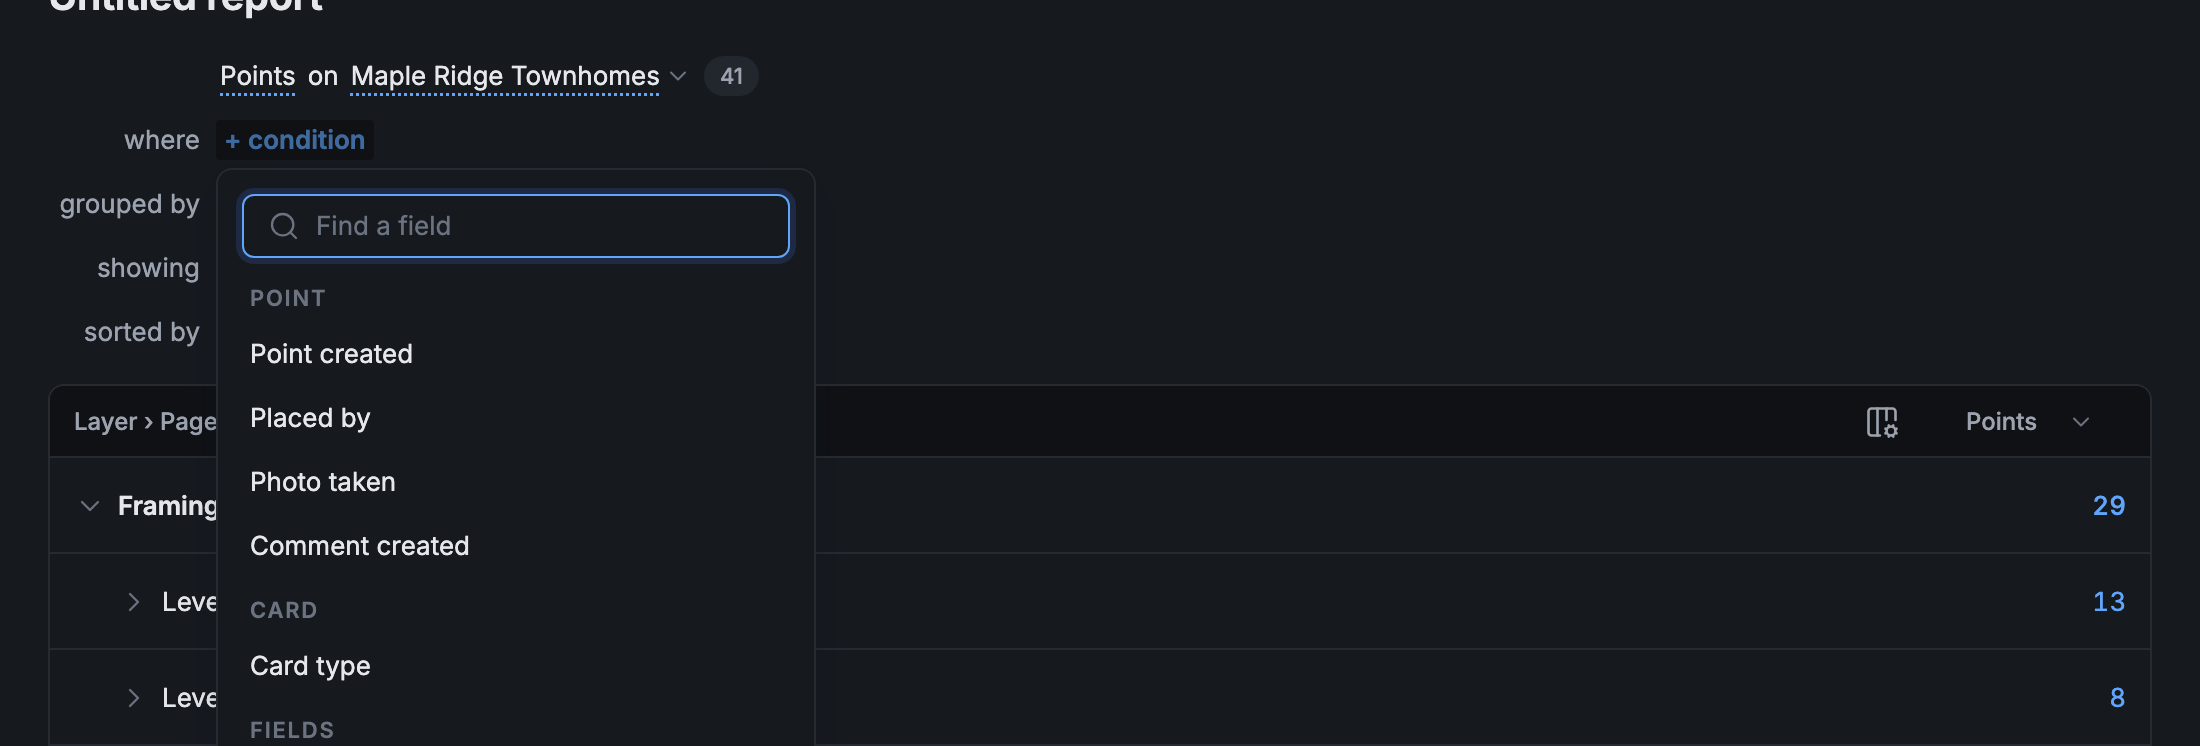
The list is in groups:
- POINT: Point created, Placed by, Photo taken, Comment created.
- CARD: Card type.
- FIELDS: your company’s fields, by name, like Status or Priority.
- Further down, the tasks on a point (Task label, Task done, Task done on, Task done by) and where a point is, like On page.
-
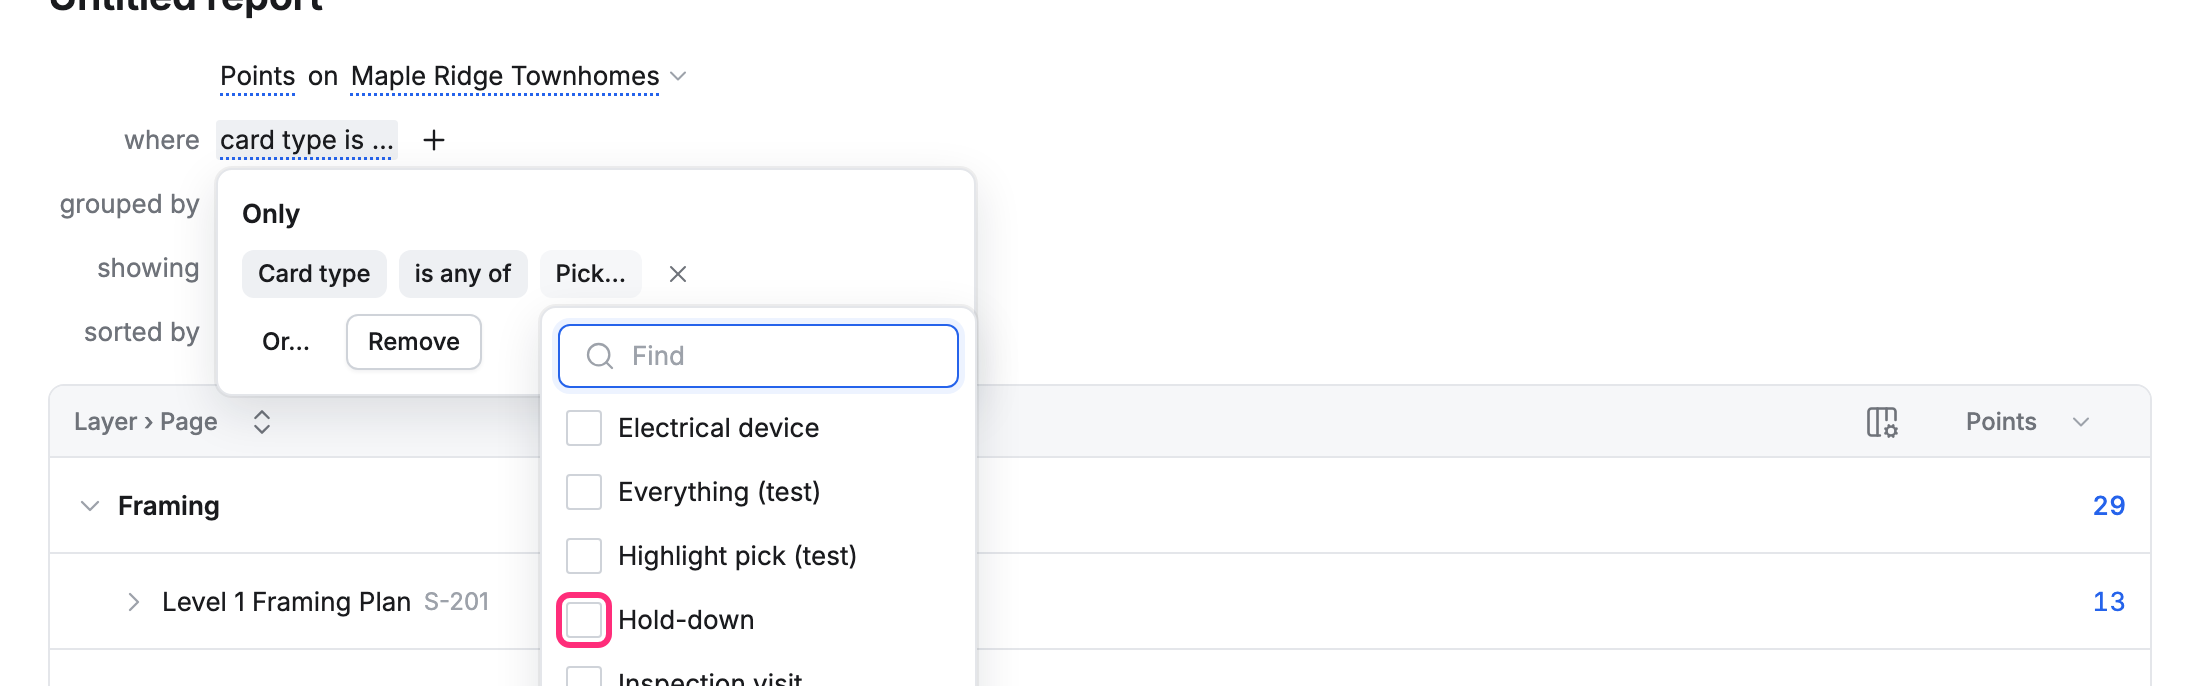
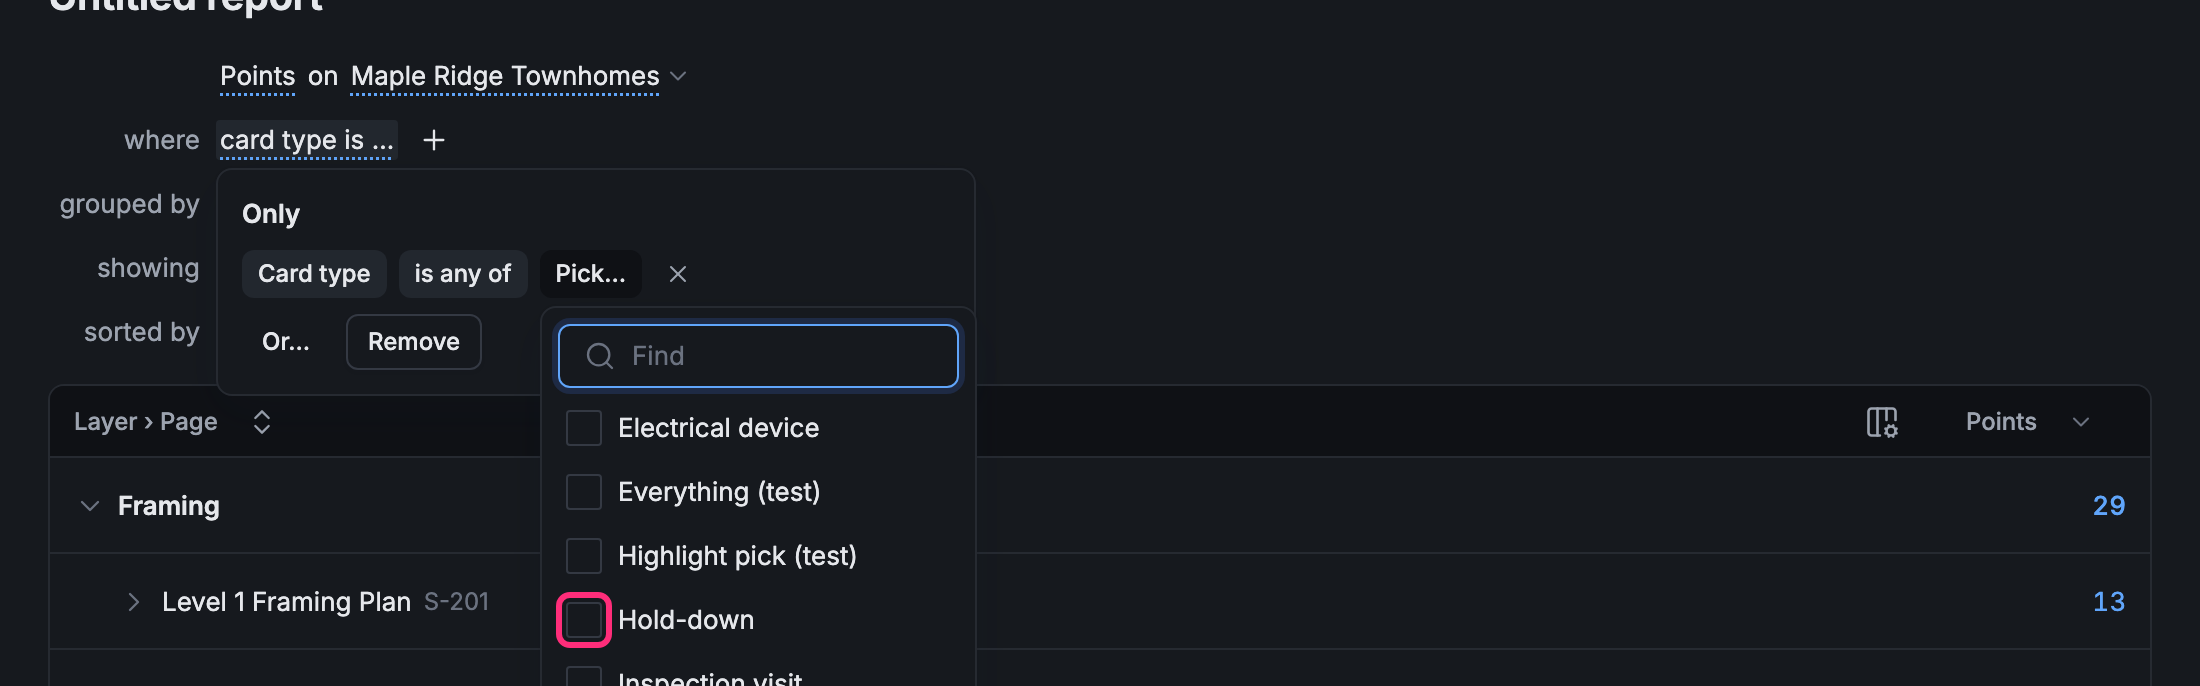
The condition opens under Only as three words: the field, the test and the value. Click Pick… (or Type… for words) to give it a value. For a list, tick one or more; Find narrows a long list.
-
Press Esc when you’re done.
A condition with no value yet (it reads Status is …) doesn’t narrow anything until you give it one.
The tests
Section titled “The tests”Click the middle word to change the test. Which tests you get depends on the field:
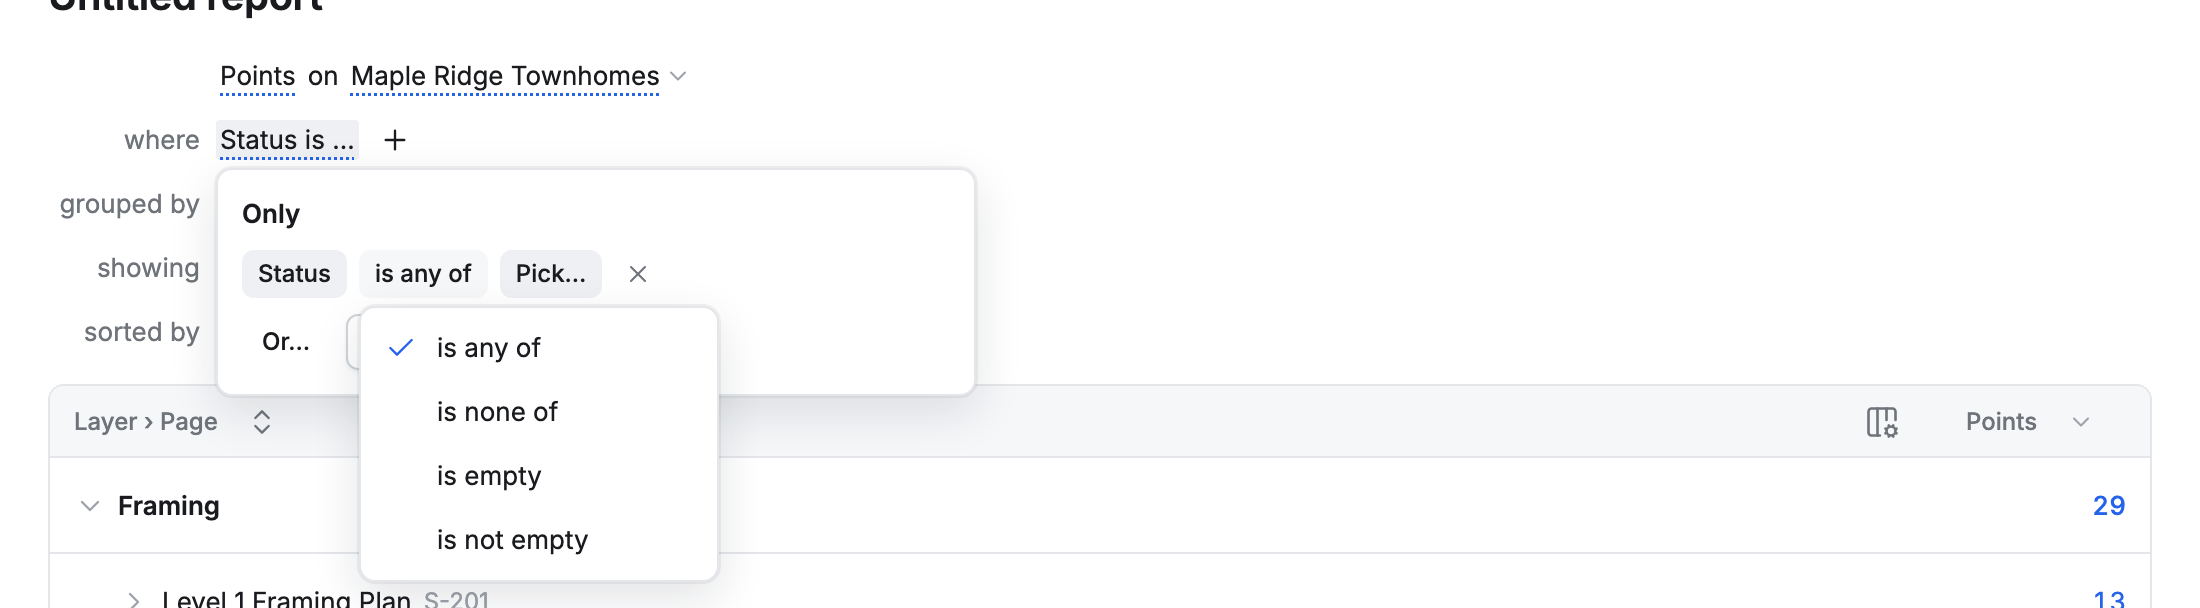
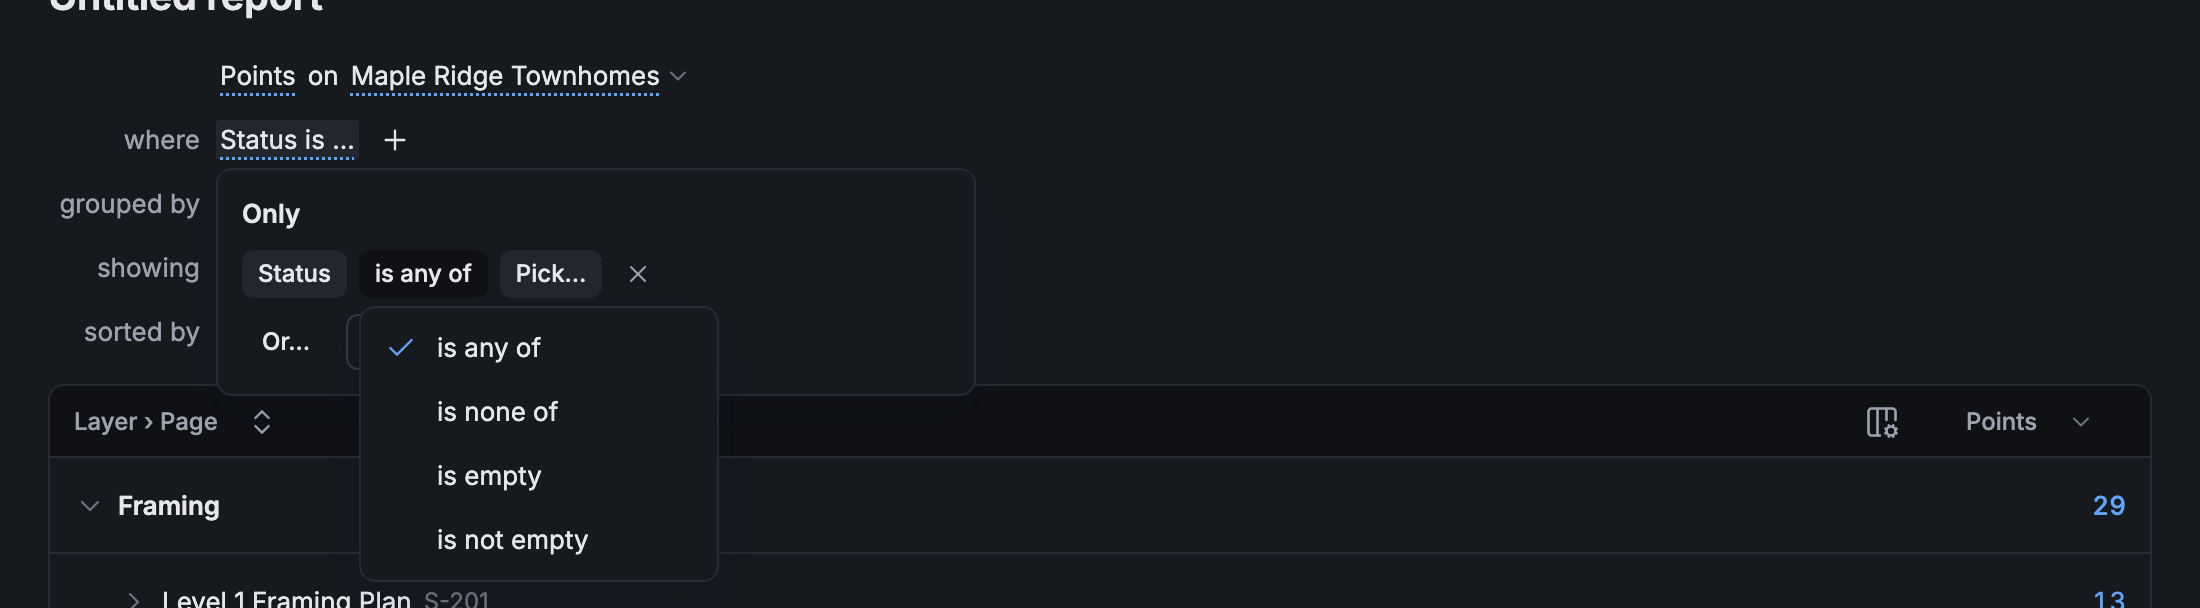
- A list of choices (Status, Priority): is any of the choices you tick, is none of them, is empty (nothing picked yet), or is not empty.
- Card type: is any of or is none of the card types you tick.
- A person (Placed by, Task done by): is any of or is none of. The list has your company’s groups first, with how many people are in each, then each person. Pick a group to count everyone in it.
- Words (Task label, a text field): contains the words you type, and other tests in the same menu.
- A date (Point created, Task done on): in the last or in the next so many days, weeks or months; before, after or between dates you pick; is empty or is not empty.


in the last and in the next count from today, so the report follows the calendar: “in the last 30 days” is always the last 30 days. before, after and between stay on the dates you pick.
Several conditions
Section titled “Several conditions”Add more conditions with the + after them. A point has to meet every one of them: the steps join them with and.
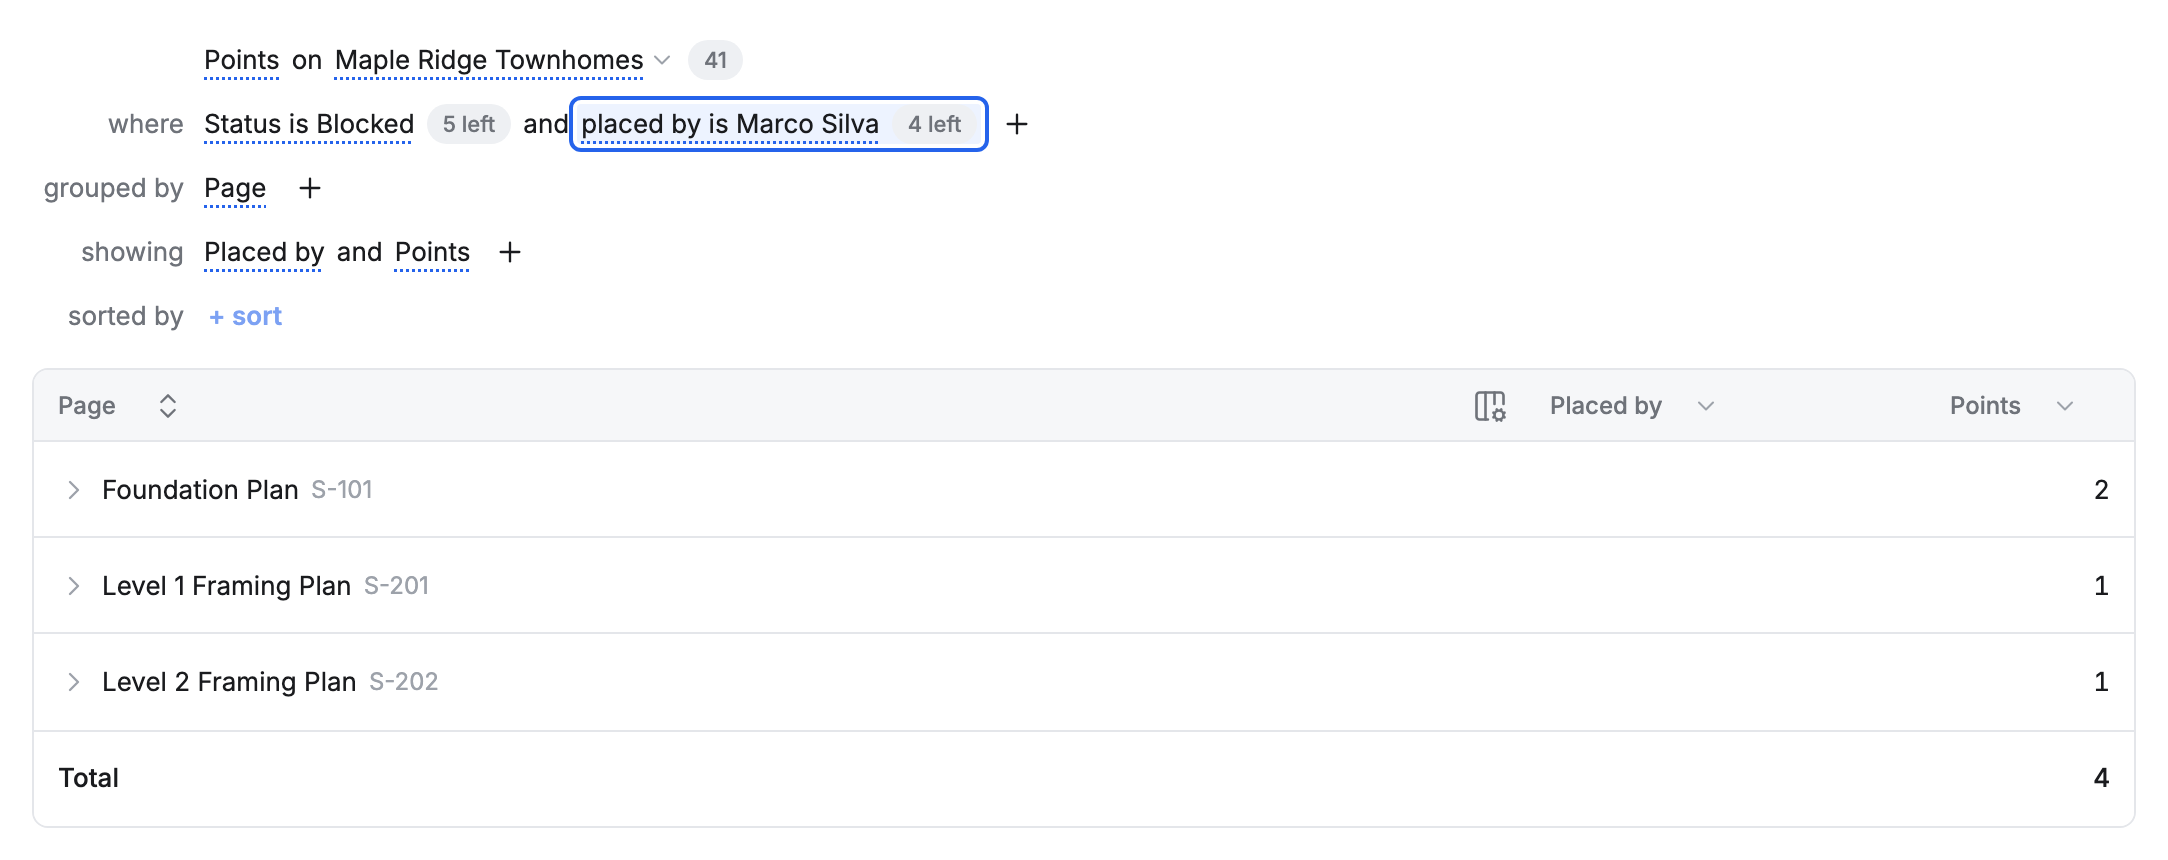
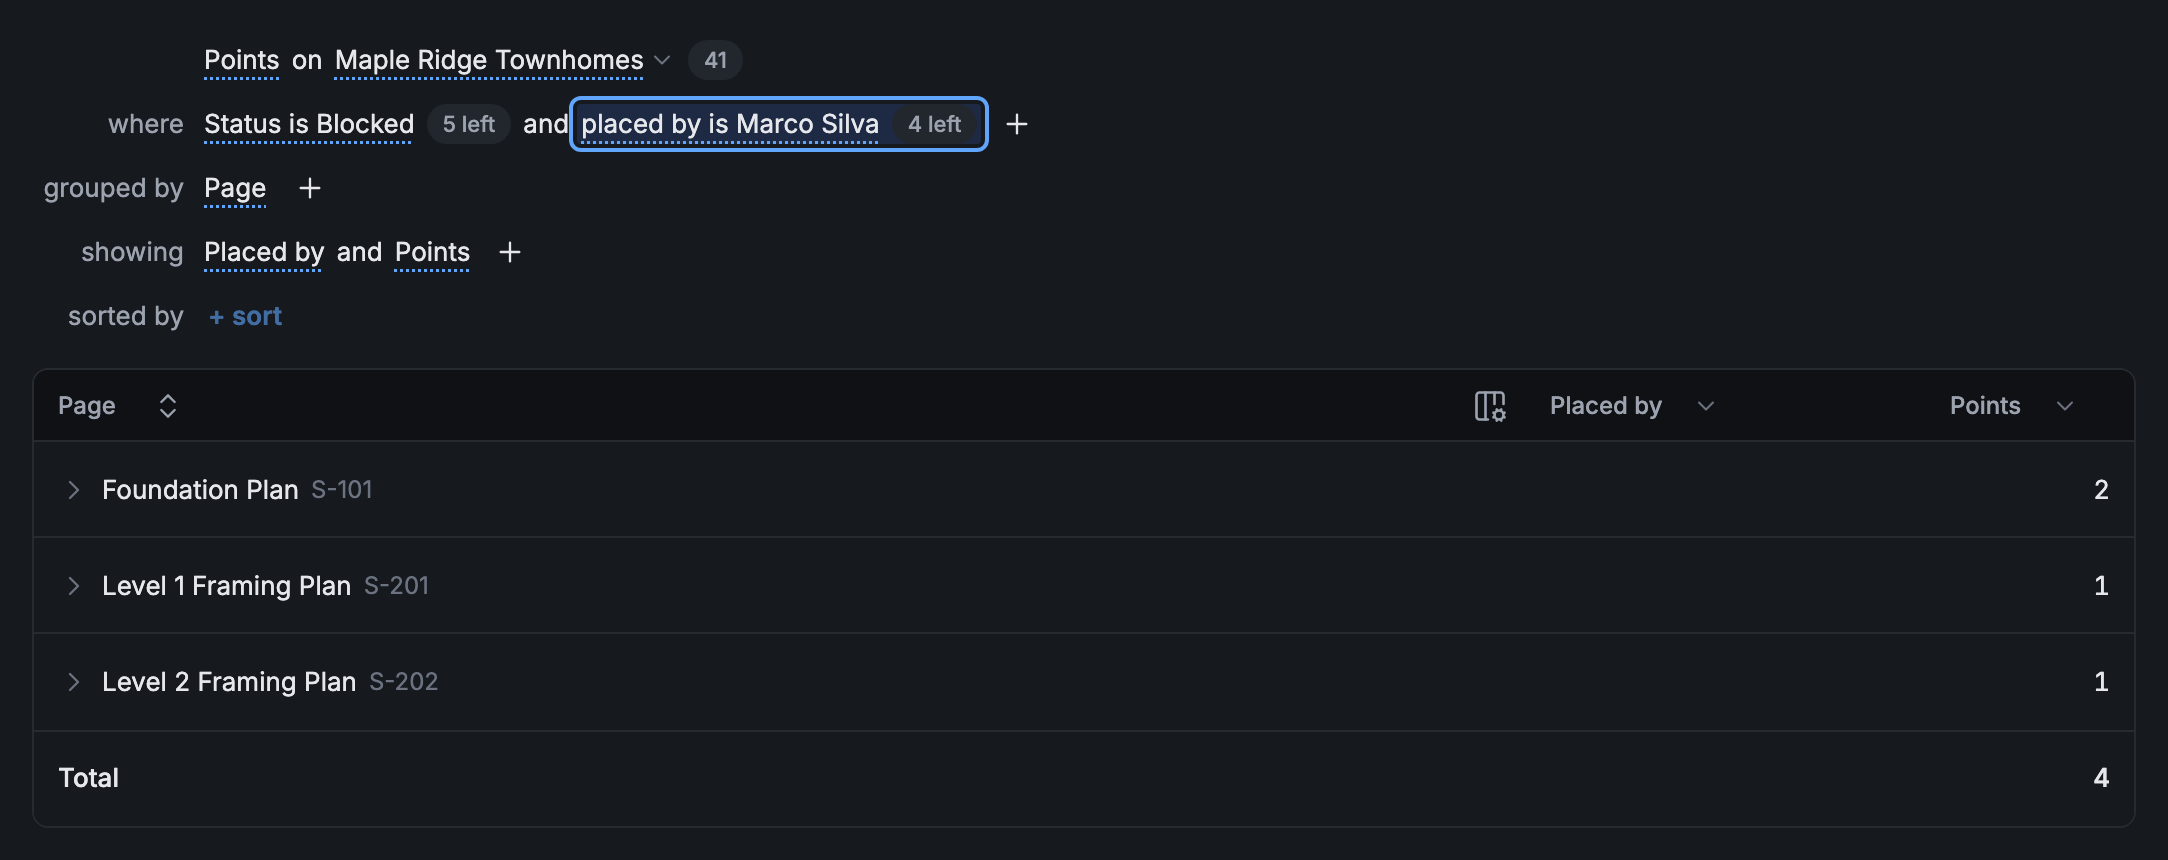
The count after each condition says how many points are left once it and the ones before it are applied. Here, 5 points are blocked, and 4 of those were placed by Marco Silva. Use the counts to see which condition leaves points out.
One condition or another
Section titled “One condition or another”To count points that meet one condition or another, put both in the same condition:
- Click the condition to open it.
- Click Or… and pick the other field. It’s added under the first, after or.
- Give it its value.
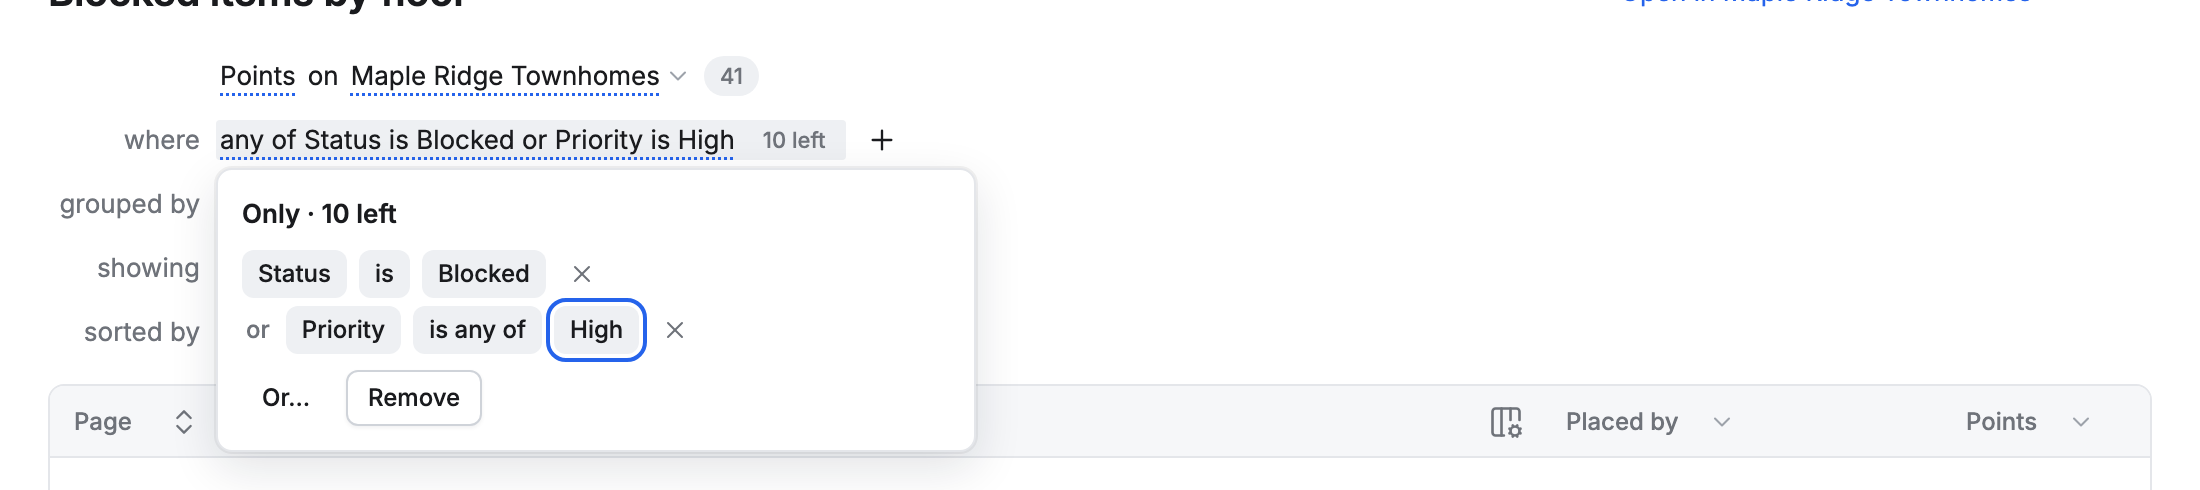
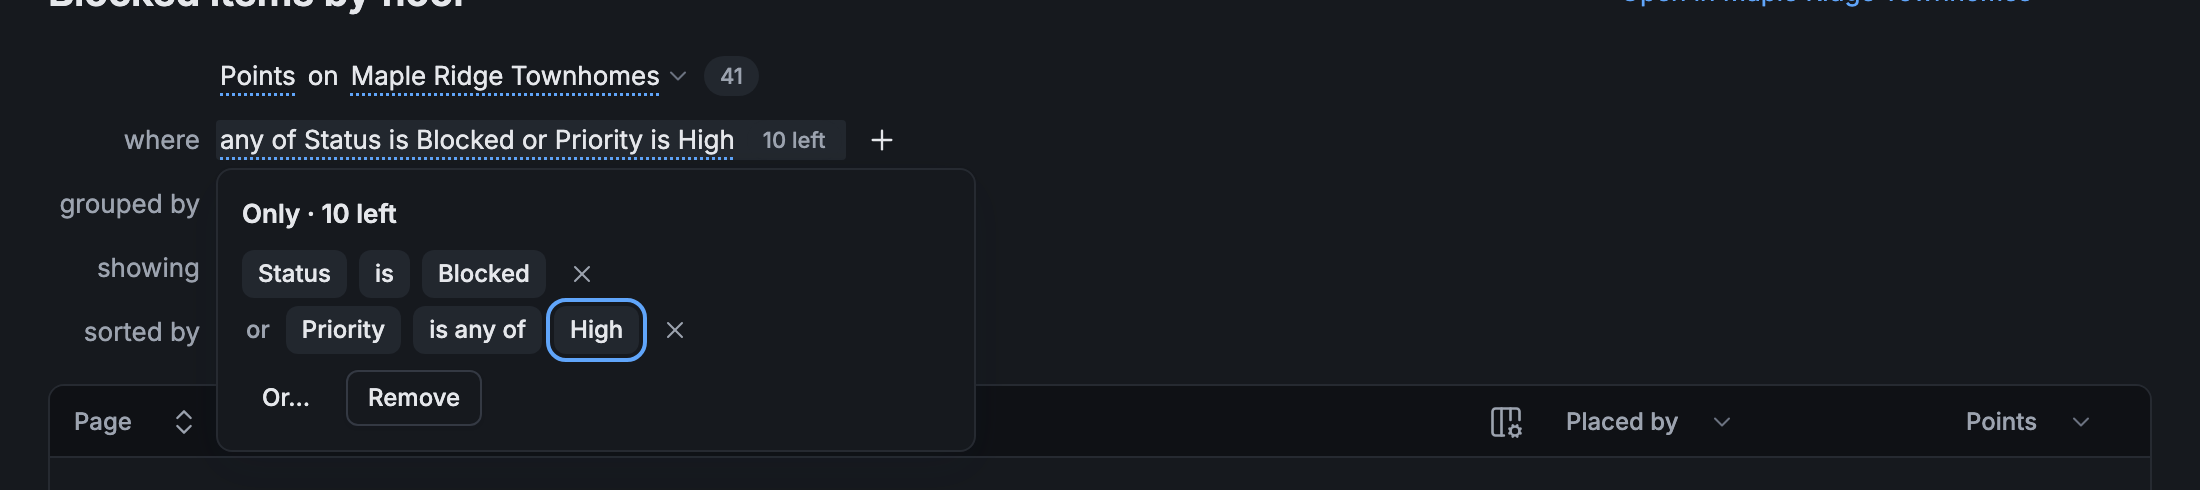
The condition now reads any of Status is Blocked or Priority is High, and counts a point that meets either one: 10 here, against 5 for Blocked alone.
Change or remove a condition
Section titled “Change or remove a condition”Click a condition to open it, then click any of its three words to change it. The × after a line takes that line out; Remove takes out the whole condition.
Group the points
Section titled “Group the points”Groups decide what each row of the table is: one row for each page, each layer, each person who placed points.
Add a group
Section titled “Add a group”Click + after grouped by and pick a field, or type in Find a field. The list has POINT (Point, Point created, Placed by), CARD (Card type), FIELDS, and the rest.
With two groups or more, they read Layer then Page: each layer is a head, with a row for each of its pages under it, and each head totals the rows under it.
A group’s menu
Section titled “A group’s menu”Click a group to change it:
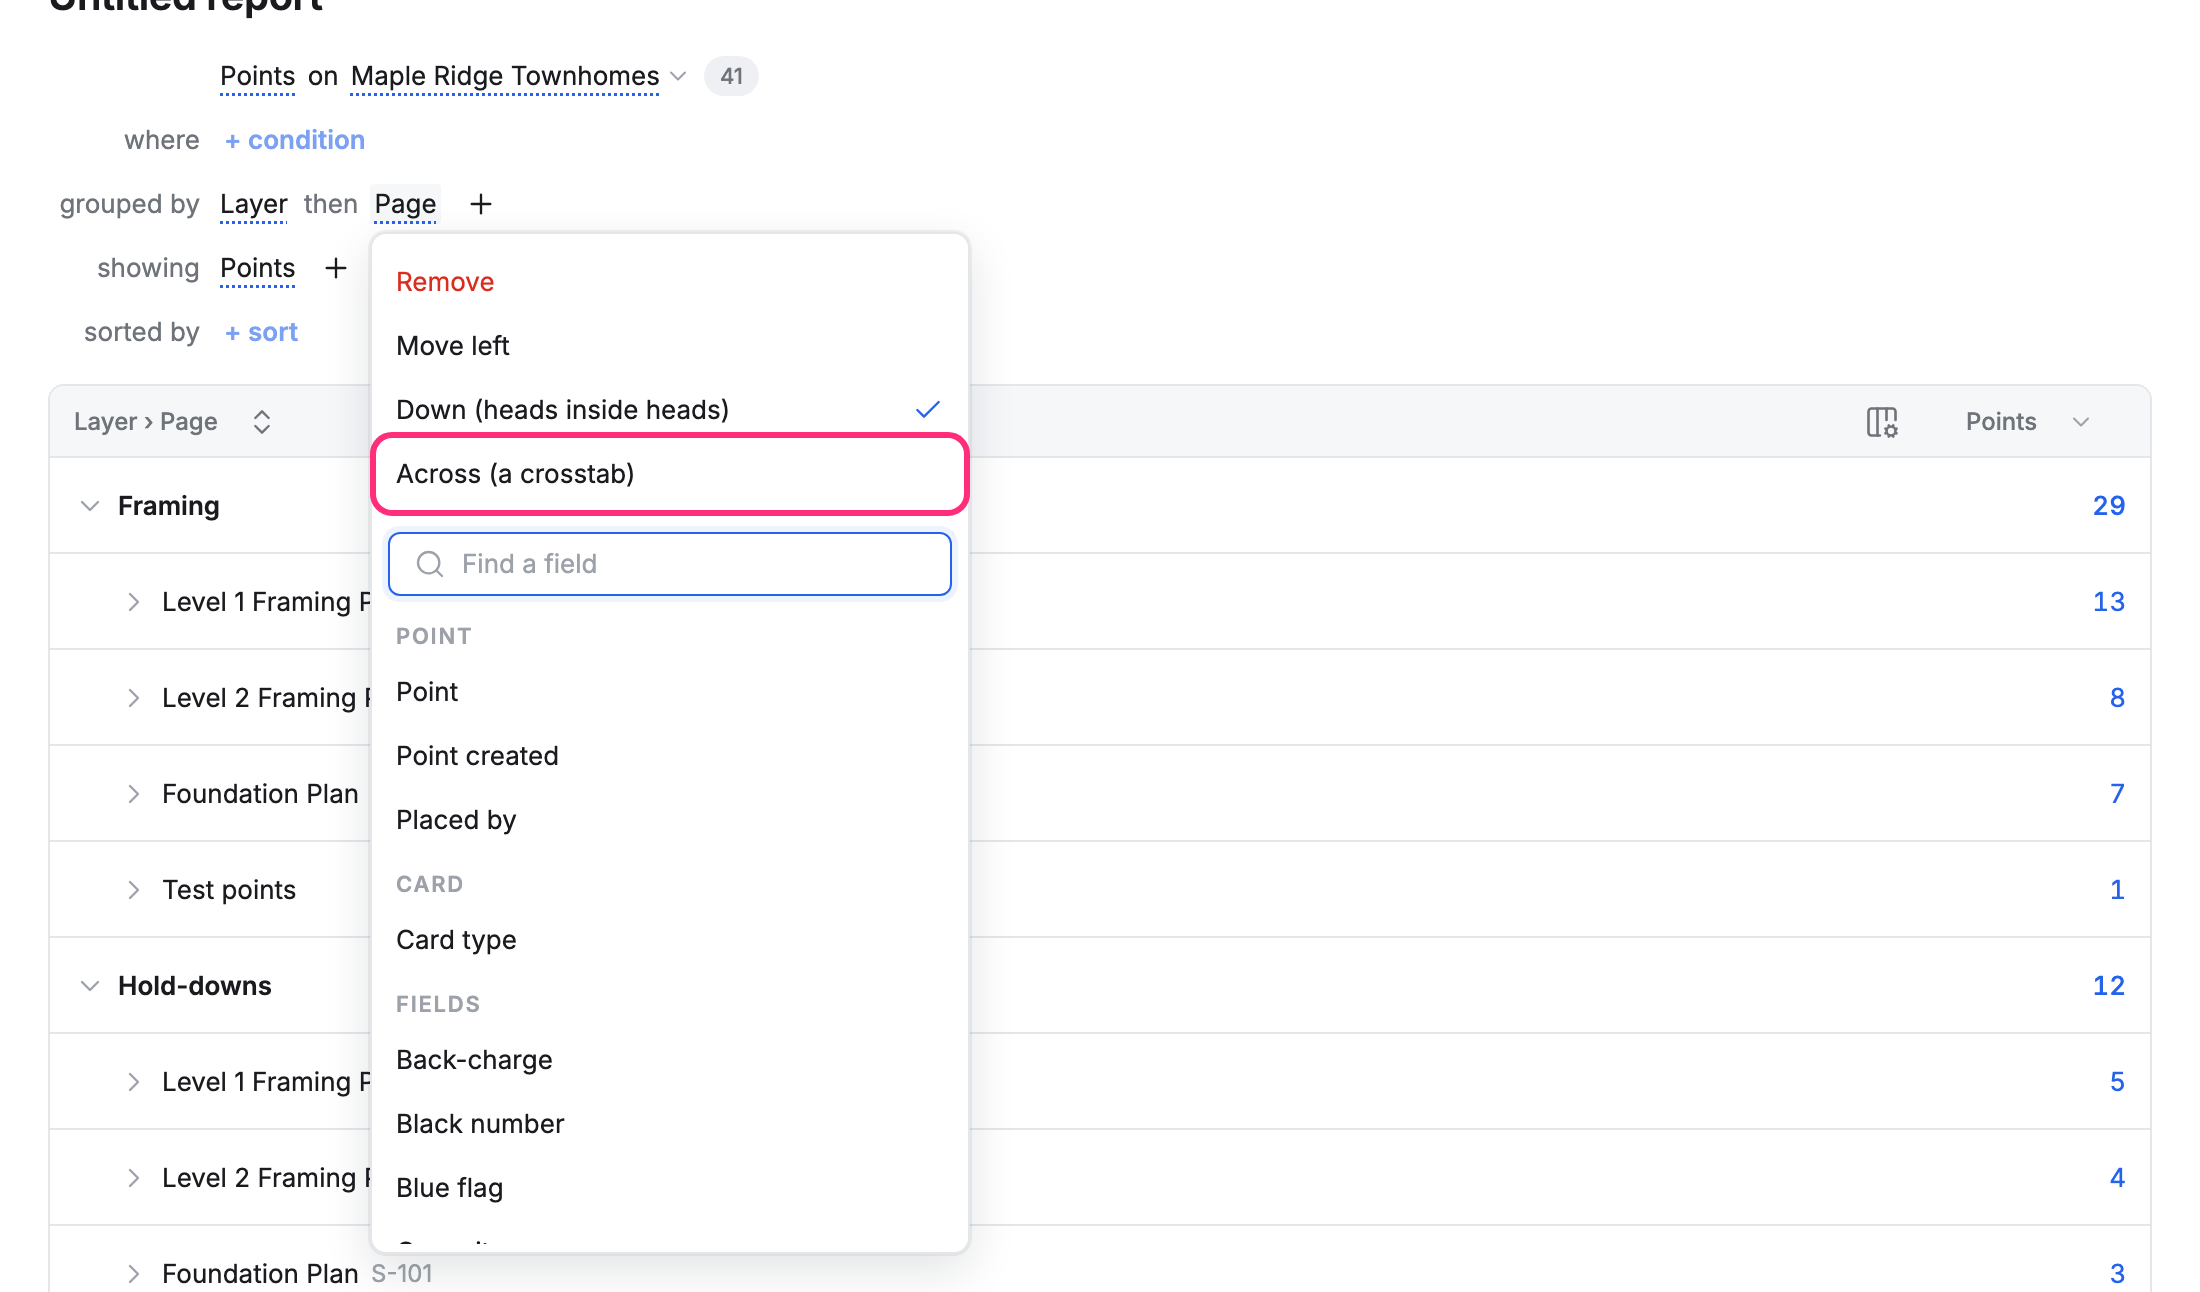
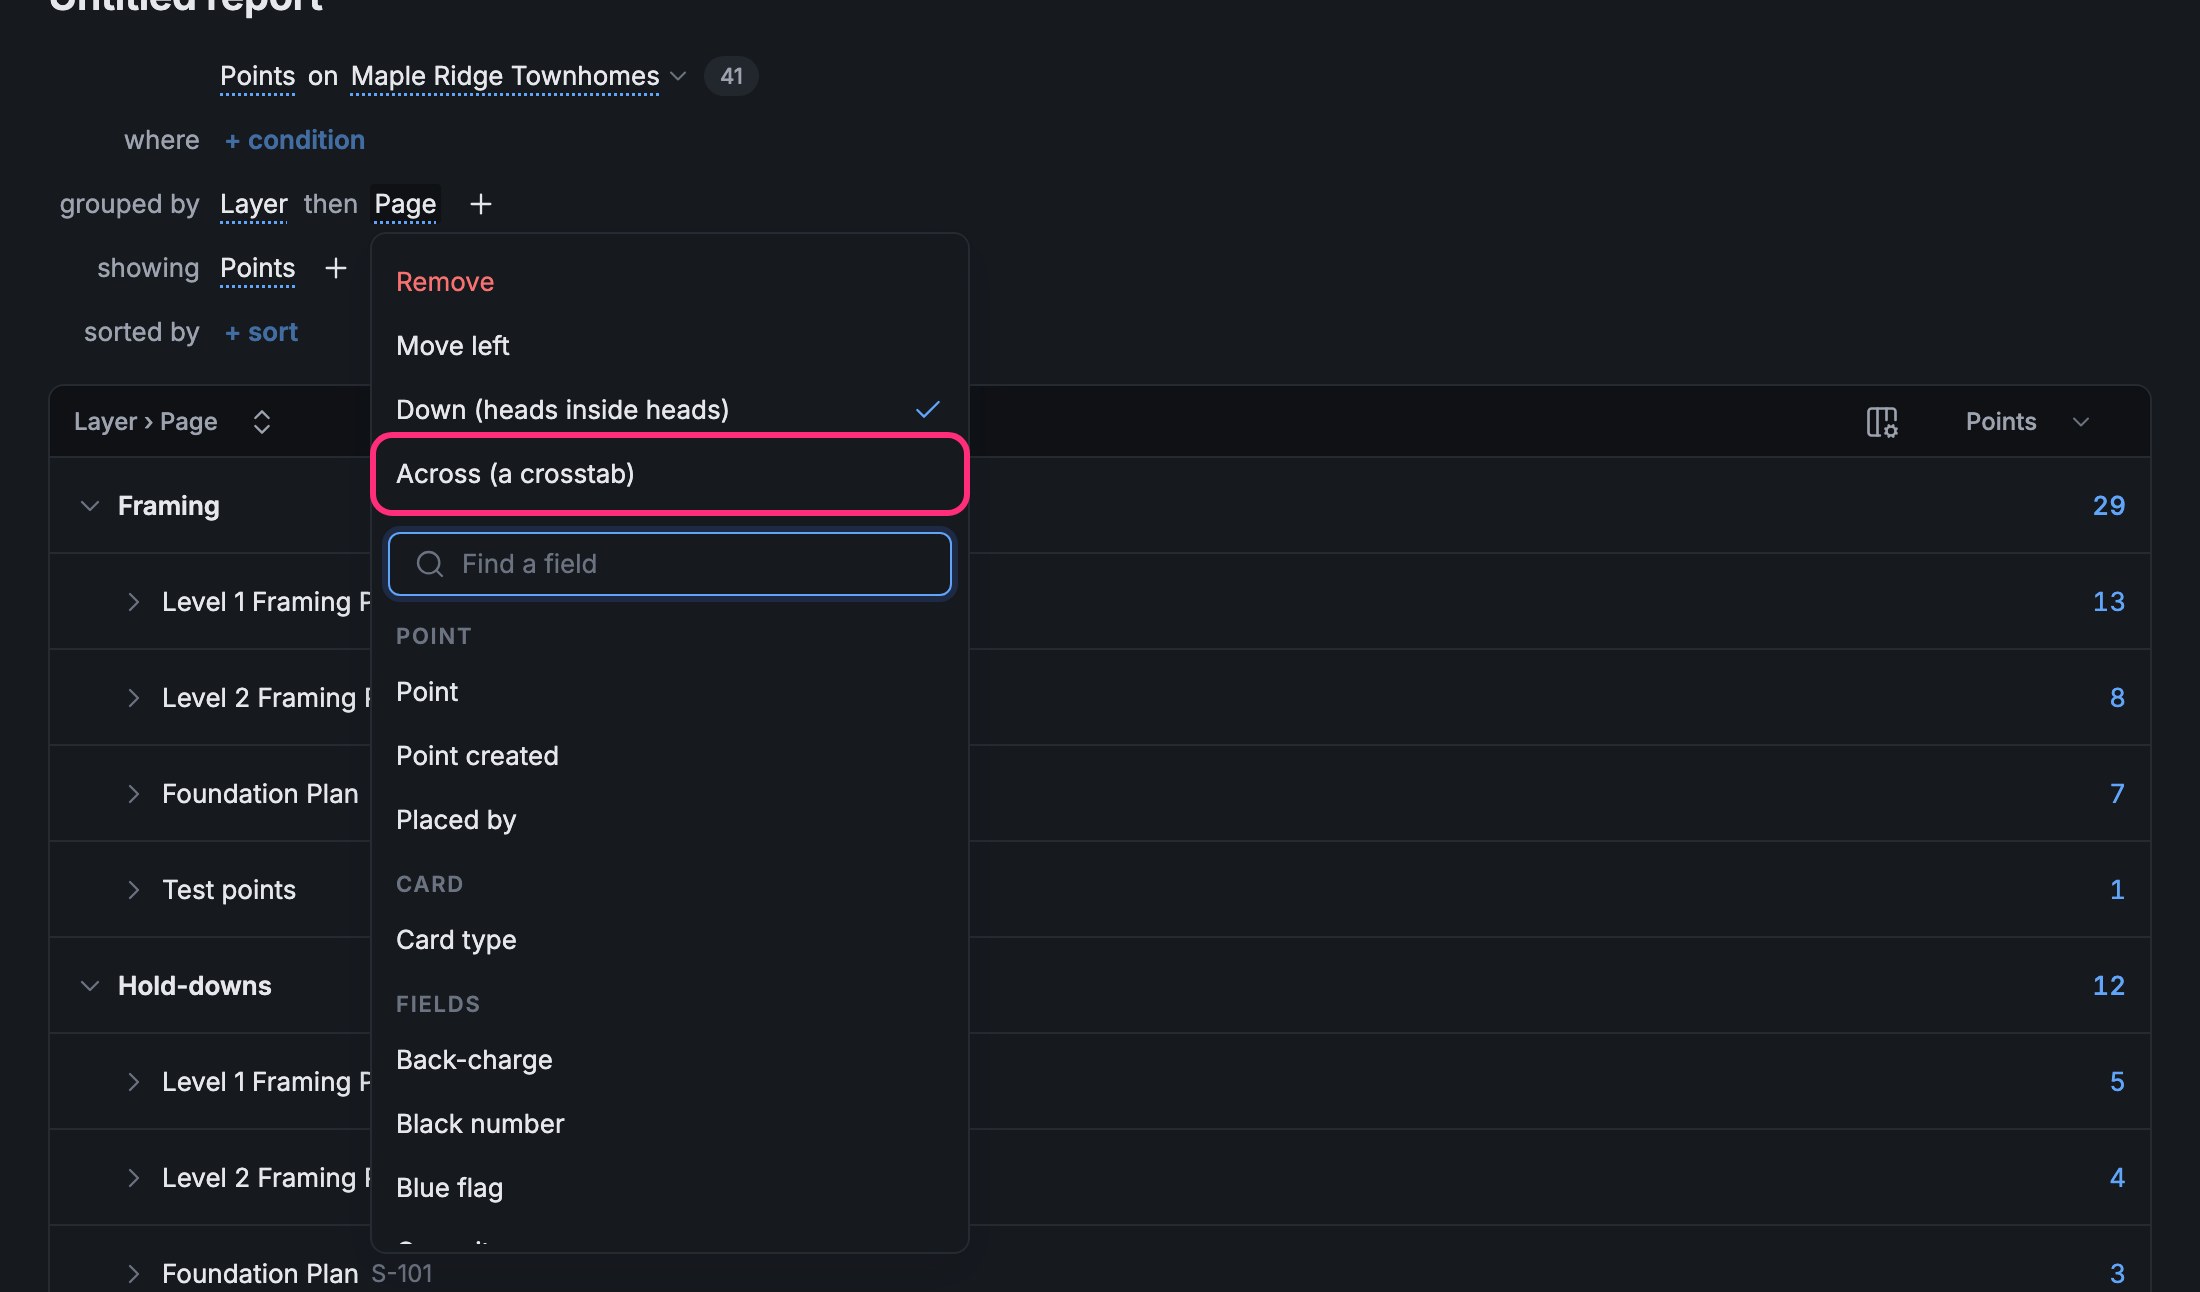
- Move left or Move right changes its place. You can also drag a group onto another’s place.
- Down (heads inside heads) puts the groups one inside the other, as above.
- Across (a crosstab) turns the second group into columns. See below.
- Remove takes it out.
- Find a field, under them, swaps the group for another field and keeps its place.
Group by a date
Section titled “Group by a date”Group by a date, like Point created, and pick how much time each row covers: By day, By week, By month, By quarter or By year. The group then reads like Month of created date.
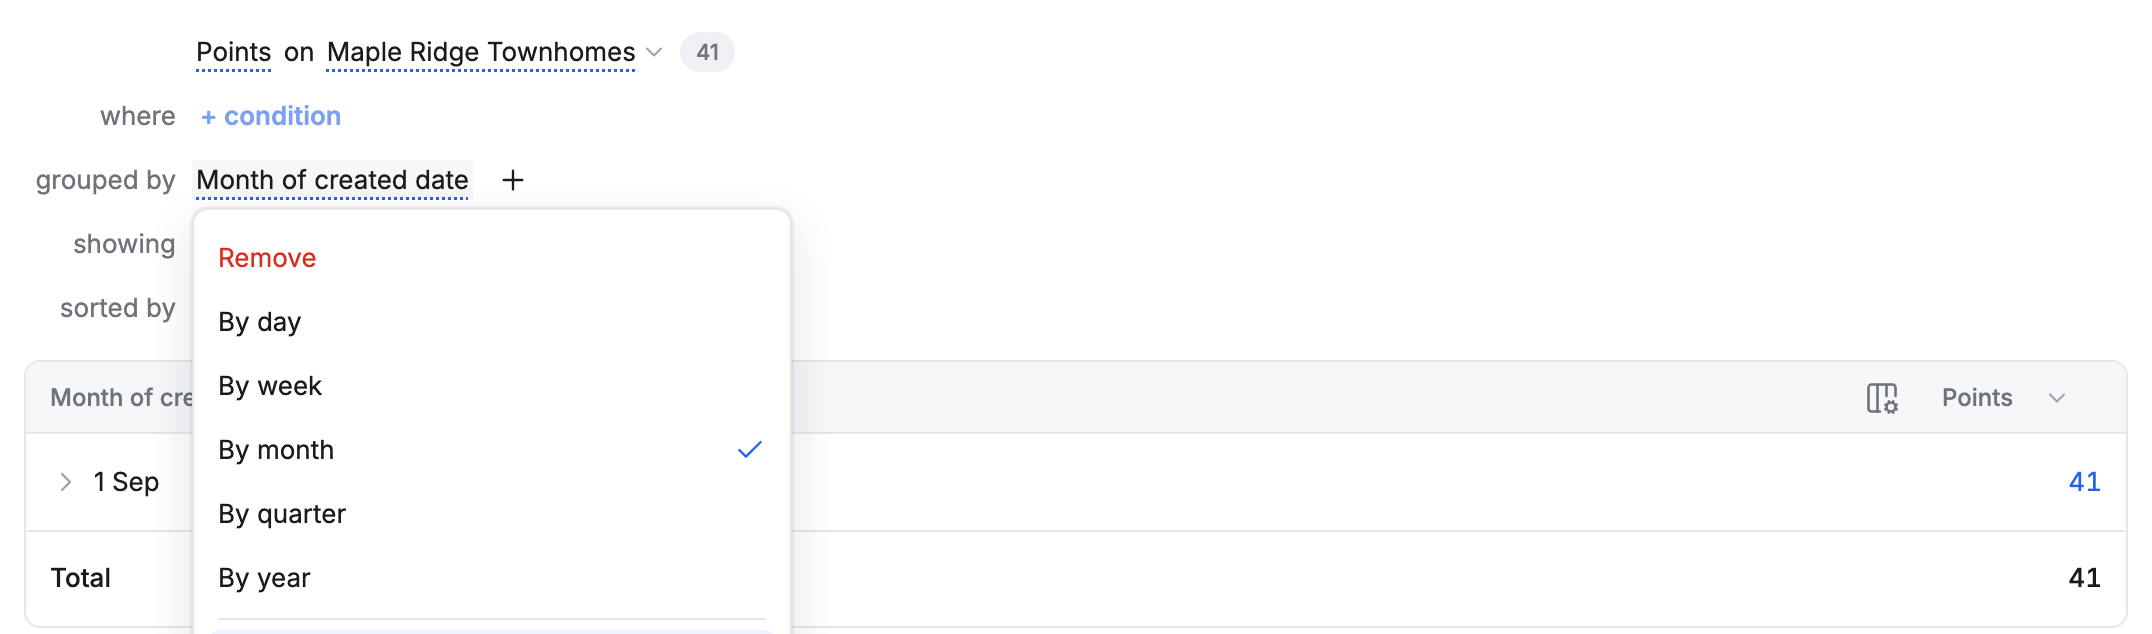
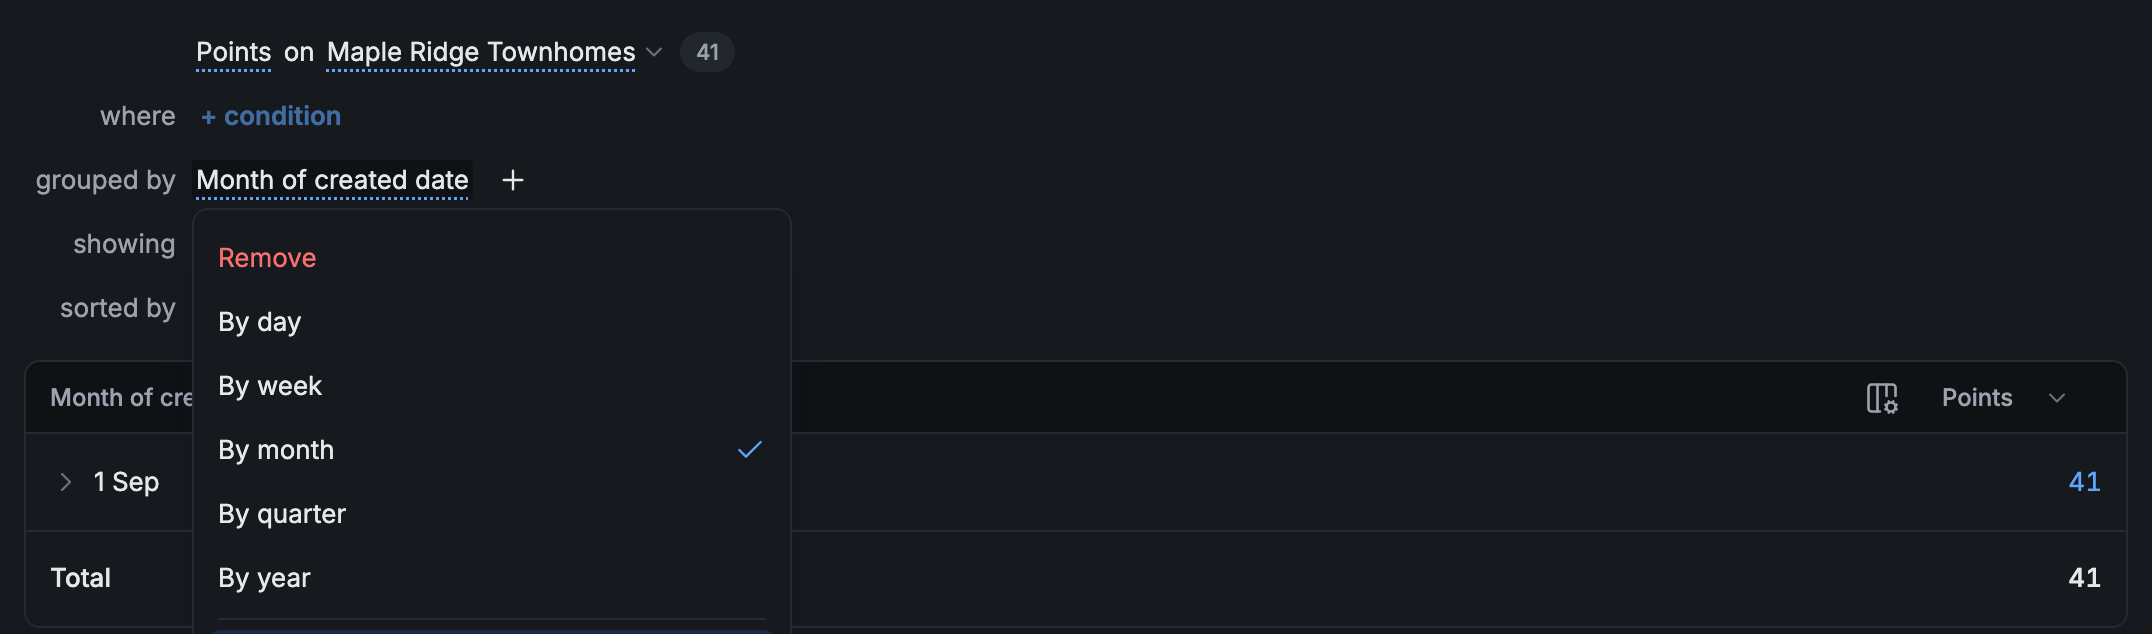
The Over time shape starts this way: points placed each month.
A crosstab
Section titled “A crosstab”Pick Across (a crosstab) on the second group to turn it into columns. The table then has a row for each of the first group and a column for each of the second, with a count where they meet. Here, a row for each layer and a column for each page:
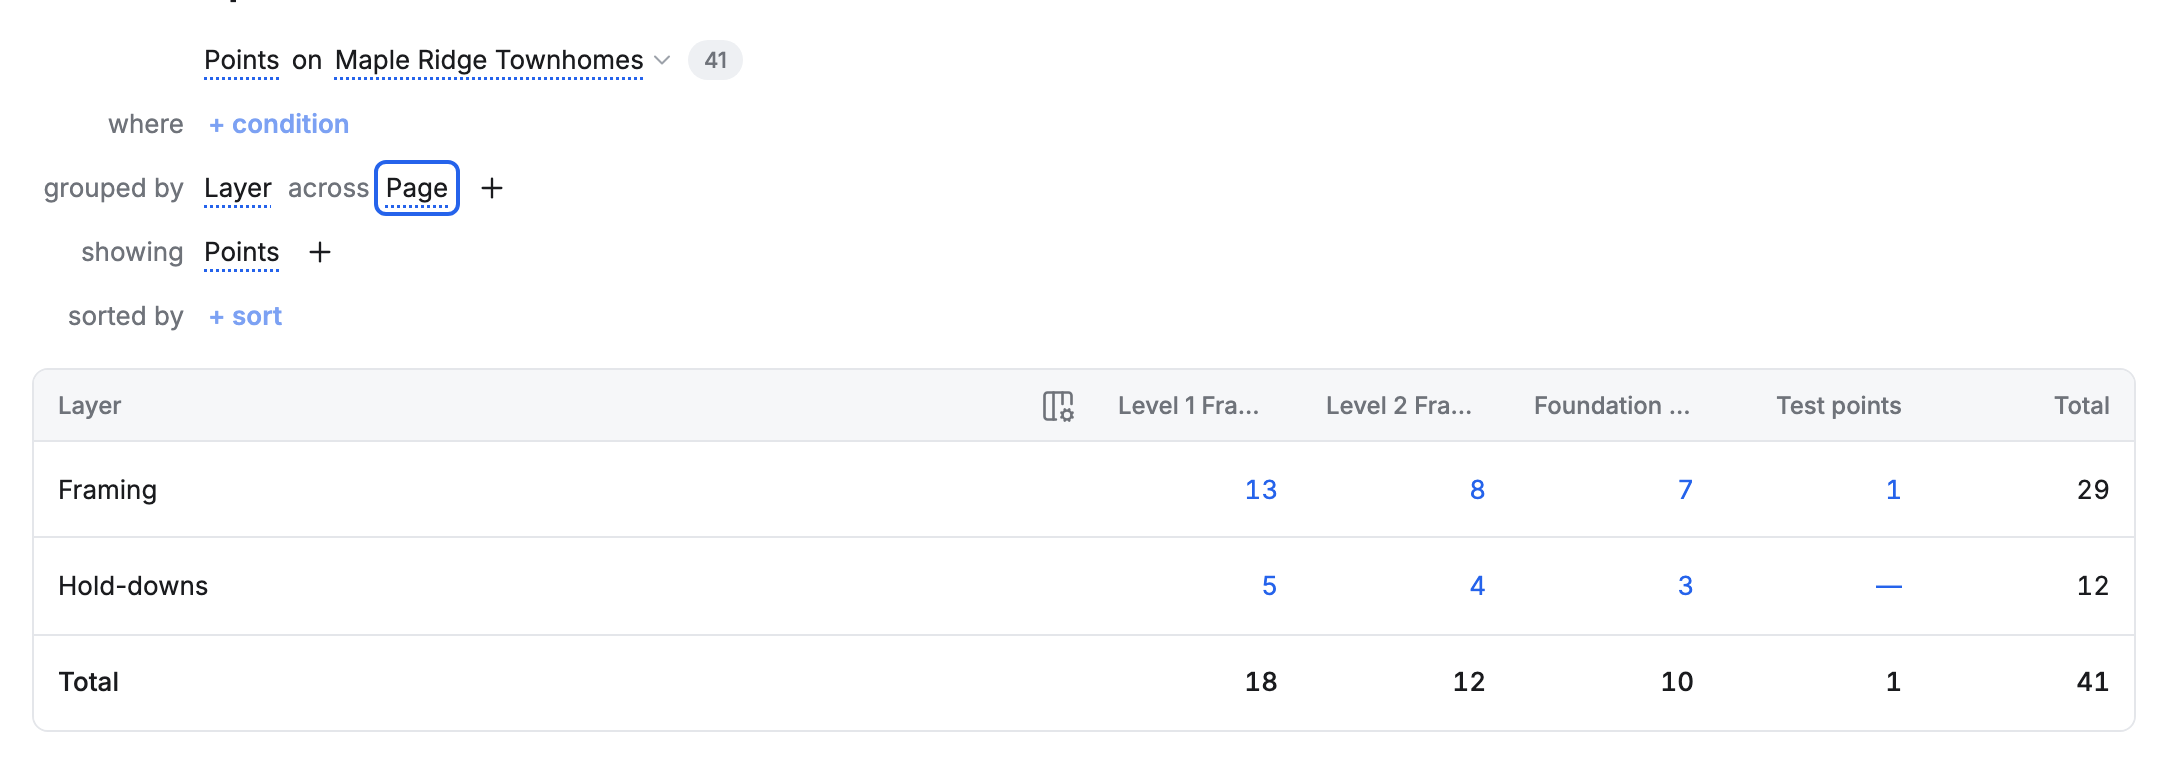
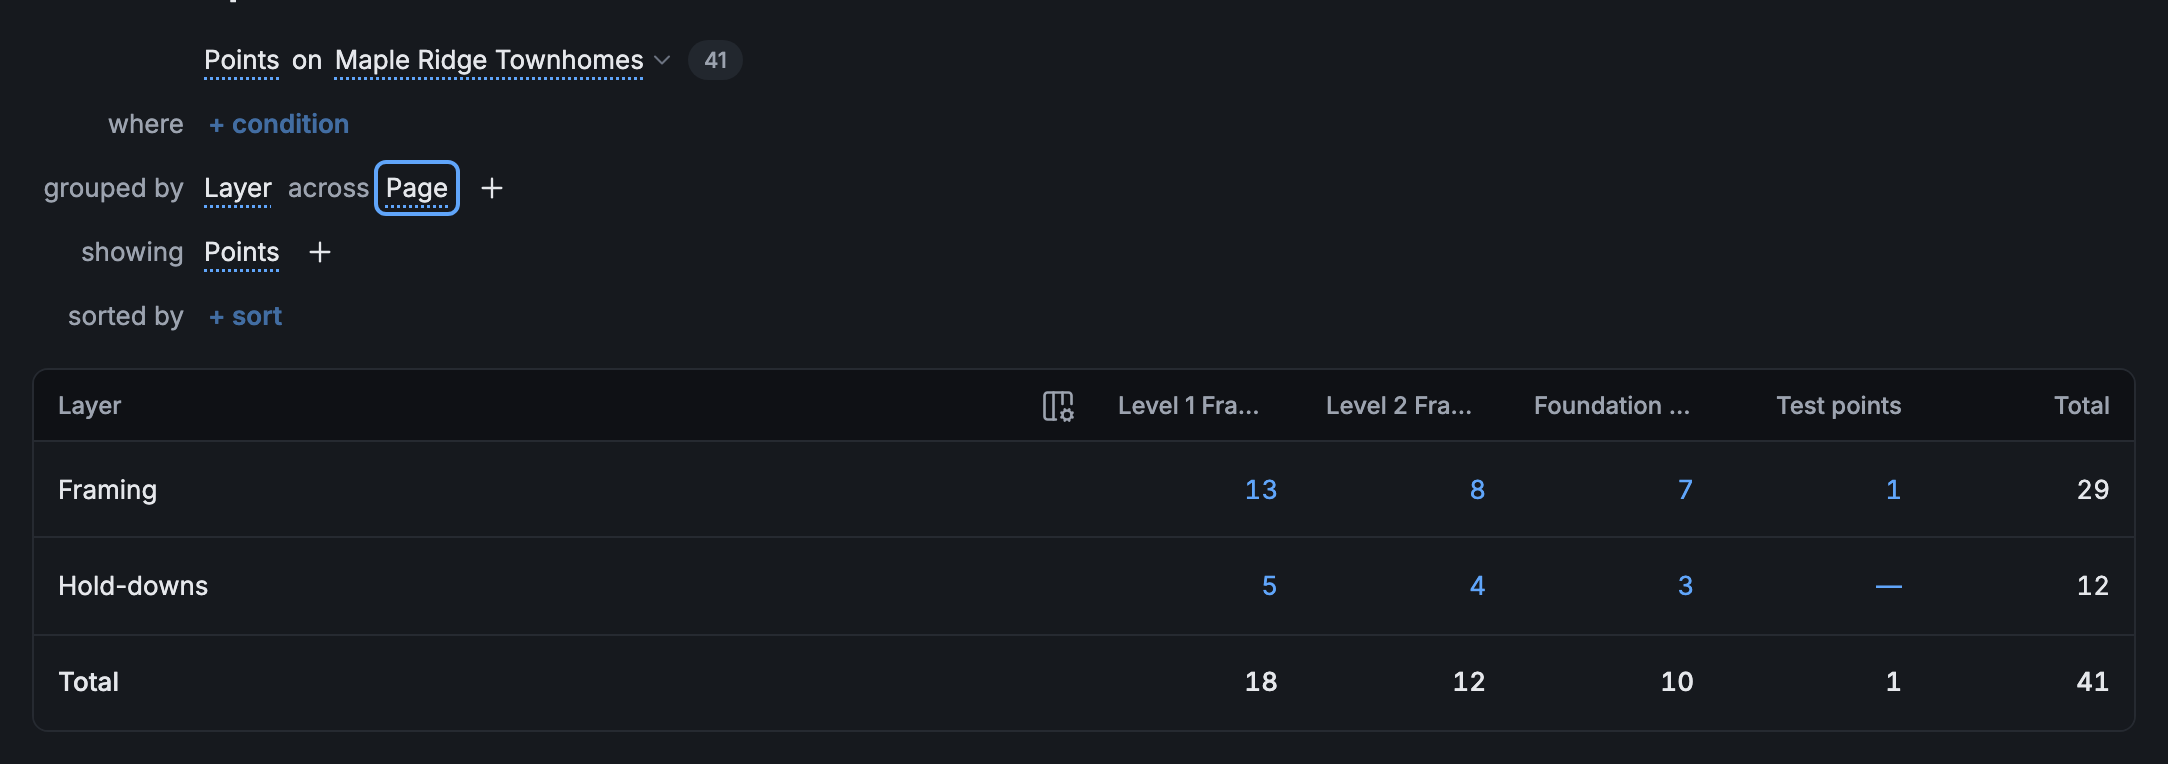
- Total at the end of each row and at the foot of each column adds them up.
- — means none.
- Click a count to see those points, page by page.
To go back, open the group and pick Down (heads inside heads).
A row for each point
Section titled “A row for each point”Add Point as the last group to list each point under its group: page heads, with the points on each page under them. Point always stays last.
Choose the columns
Section titled “Choose the columns”showing lists the report’s columns. Click + after it, or the columns icon at the right of the table’s head:
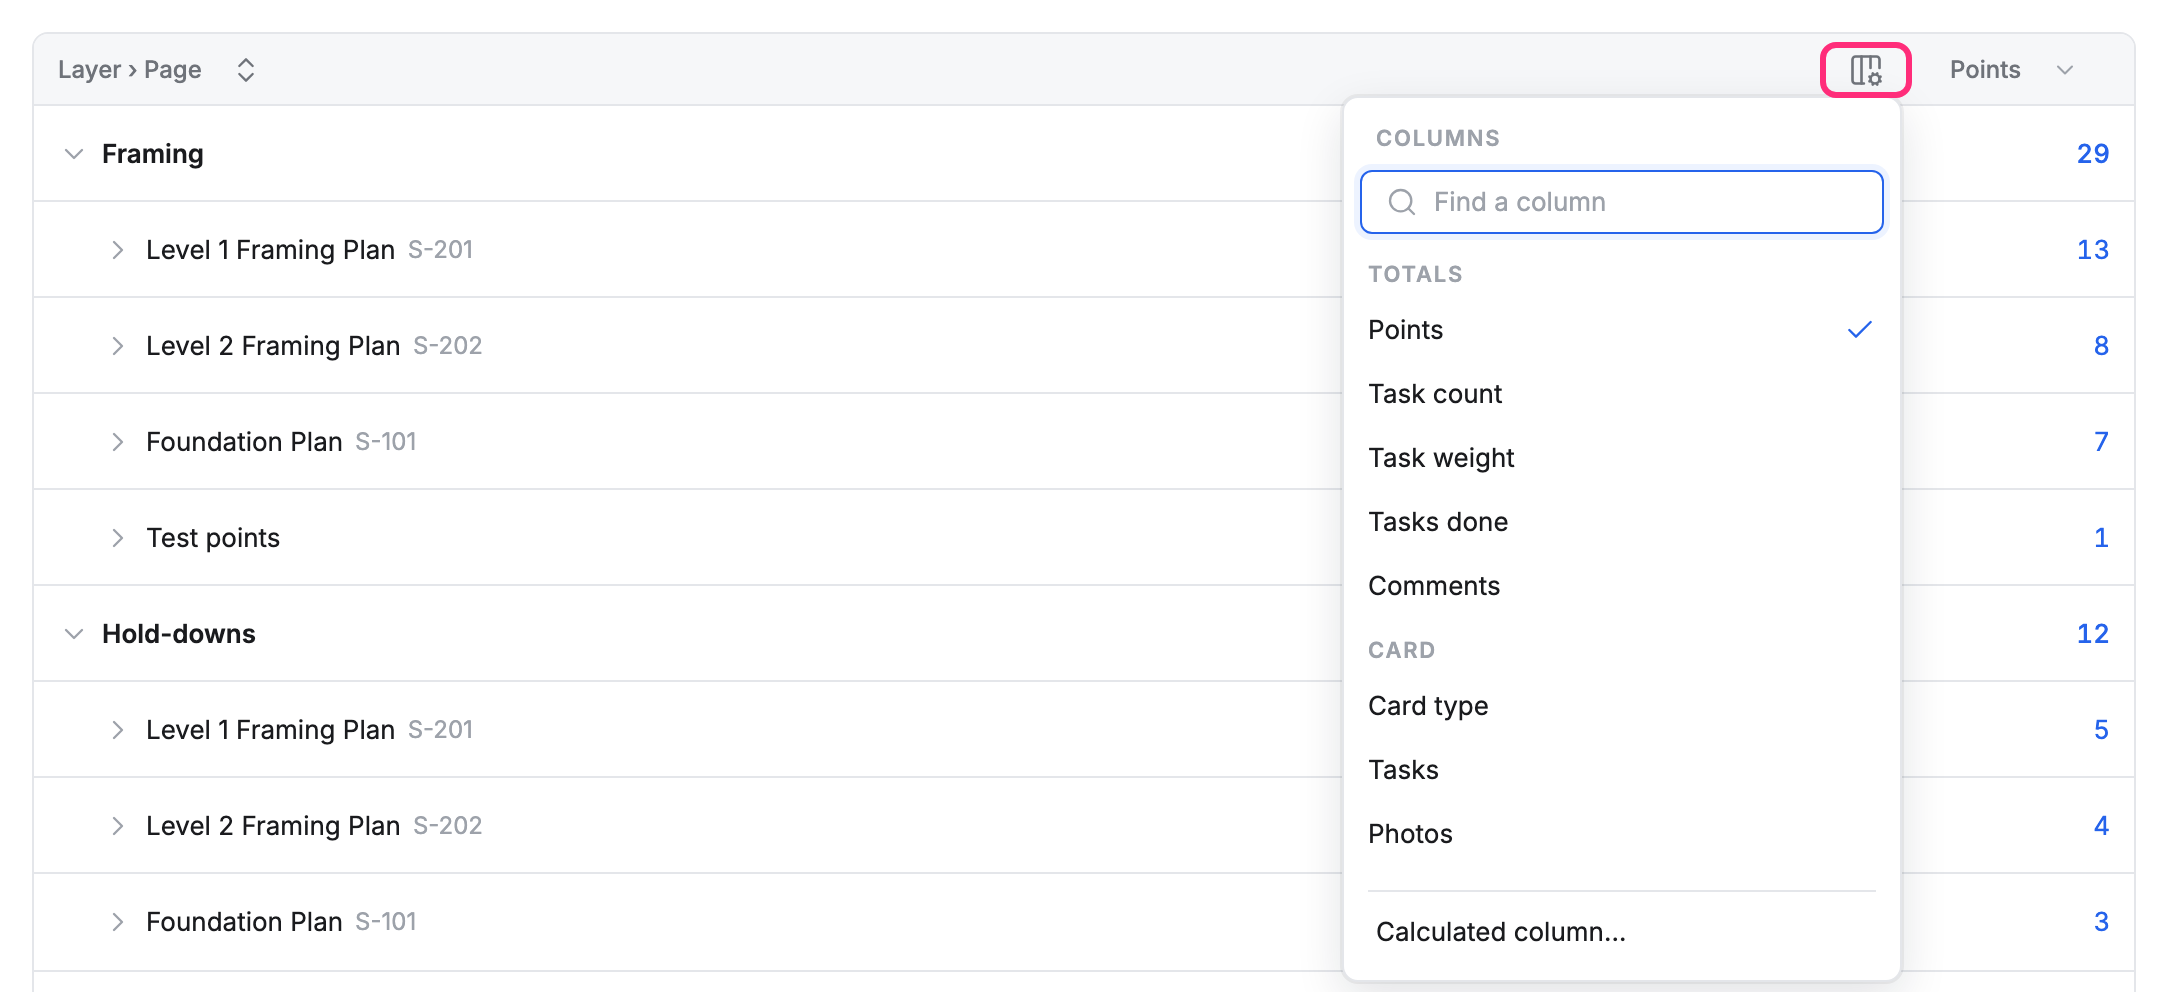
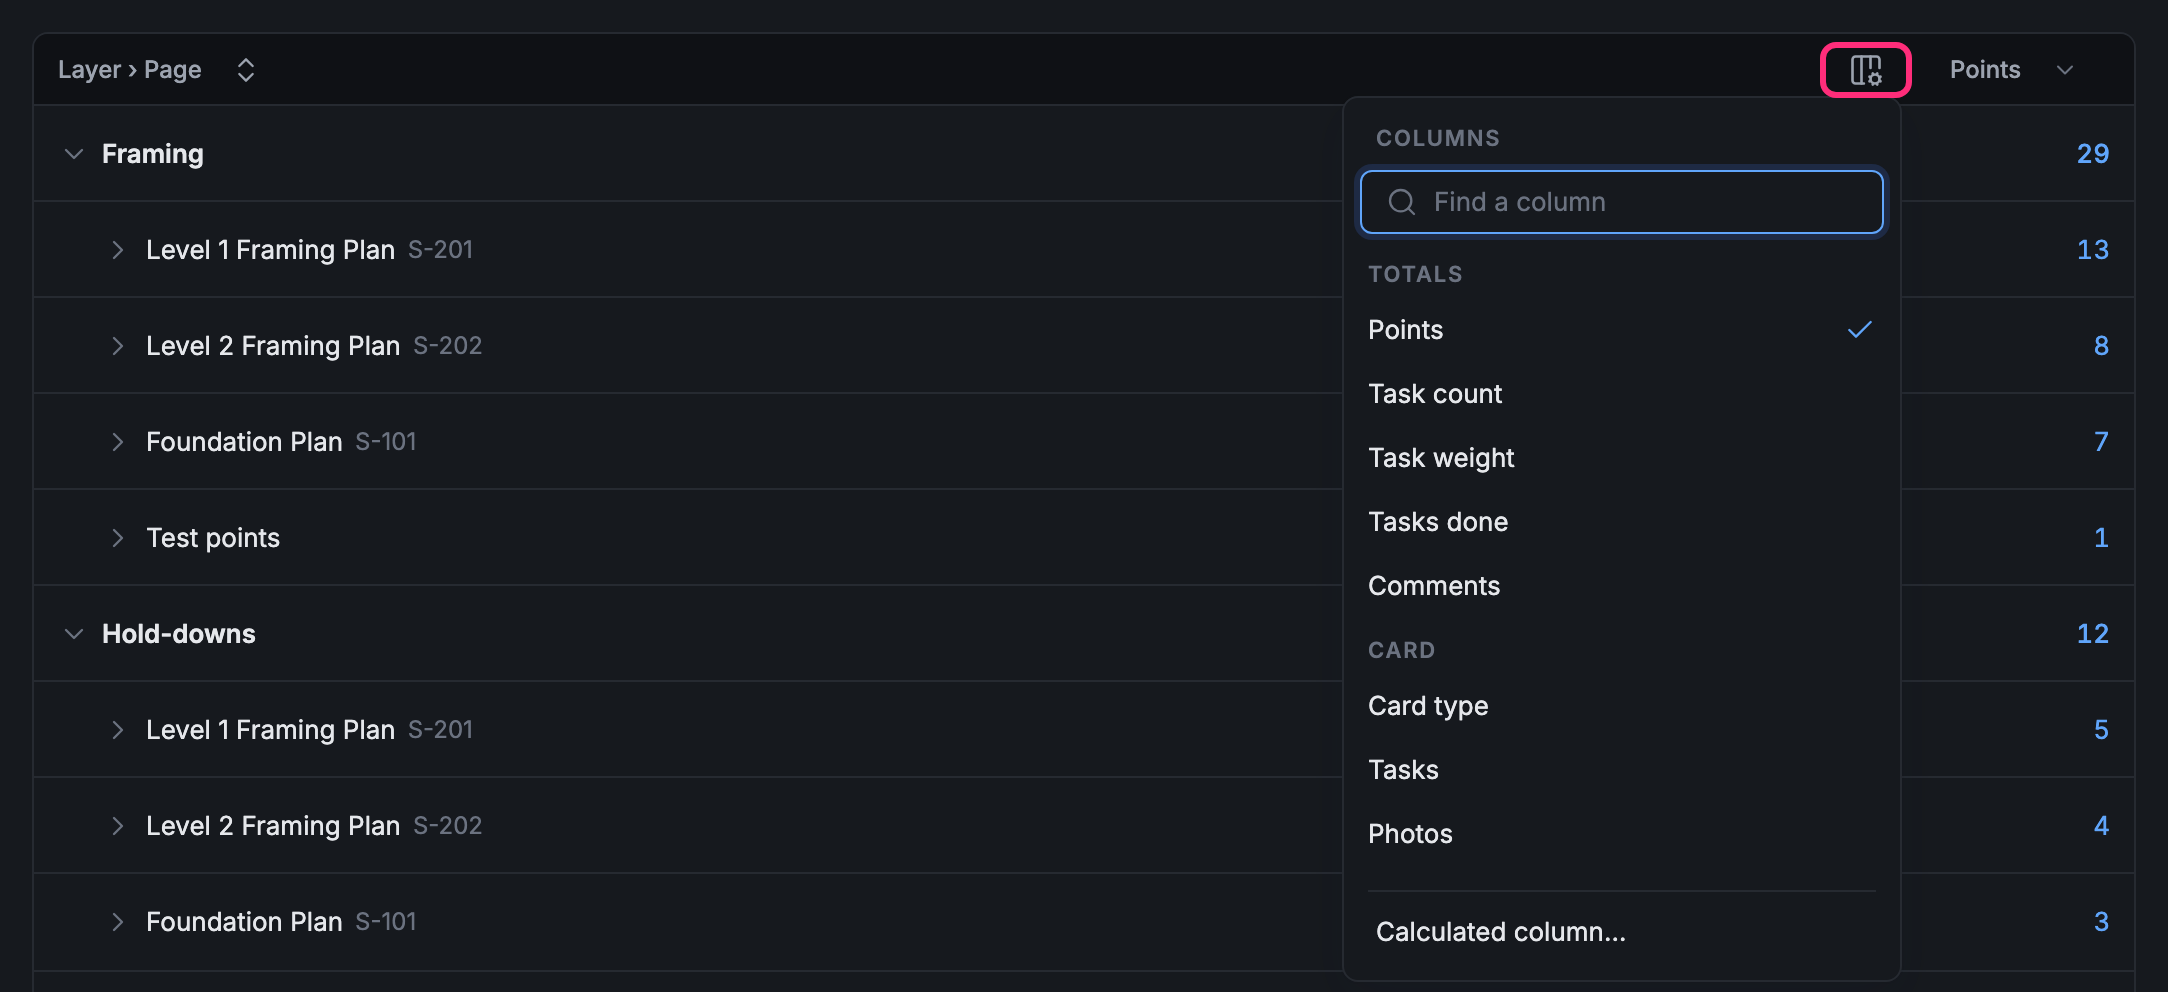
- Under TOTALS are the numbers each row can count: Points, Task count, Task weight, Tasks done, Comments.
- Under CARD and the fields below it are what each point’s card holds. A number field adds up in each row.
- Find a column narrows the list.
Click a column to add it, or click it again to take it out. A column’s chip after showing does the same as its column in the table: drag a chip onto another’s place to move it, or click it to remove it.
Sort the rows
Section titled “Sort the rows”With no sort, the rows keep the report’s own order (+ sort).
-
Click + sort after sorted by.
-
Pick what to sort by. The list has the report’s groups and its numbers: here Layer, Page and Points.
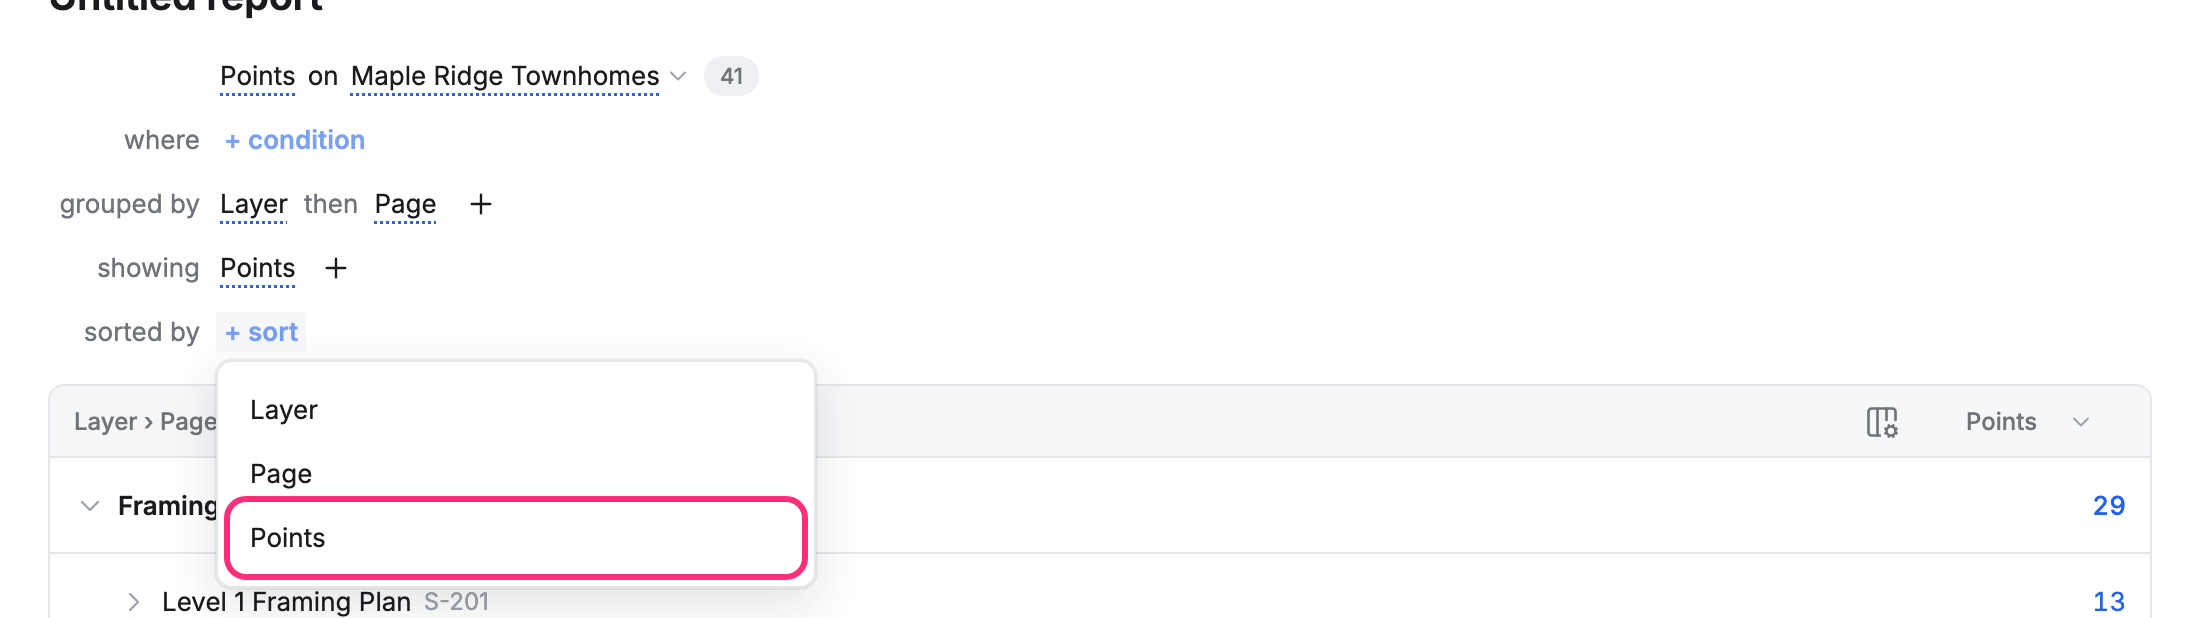
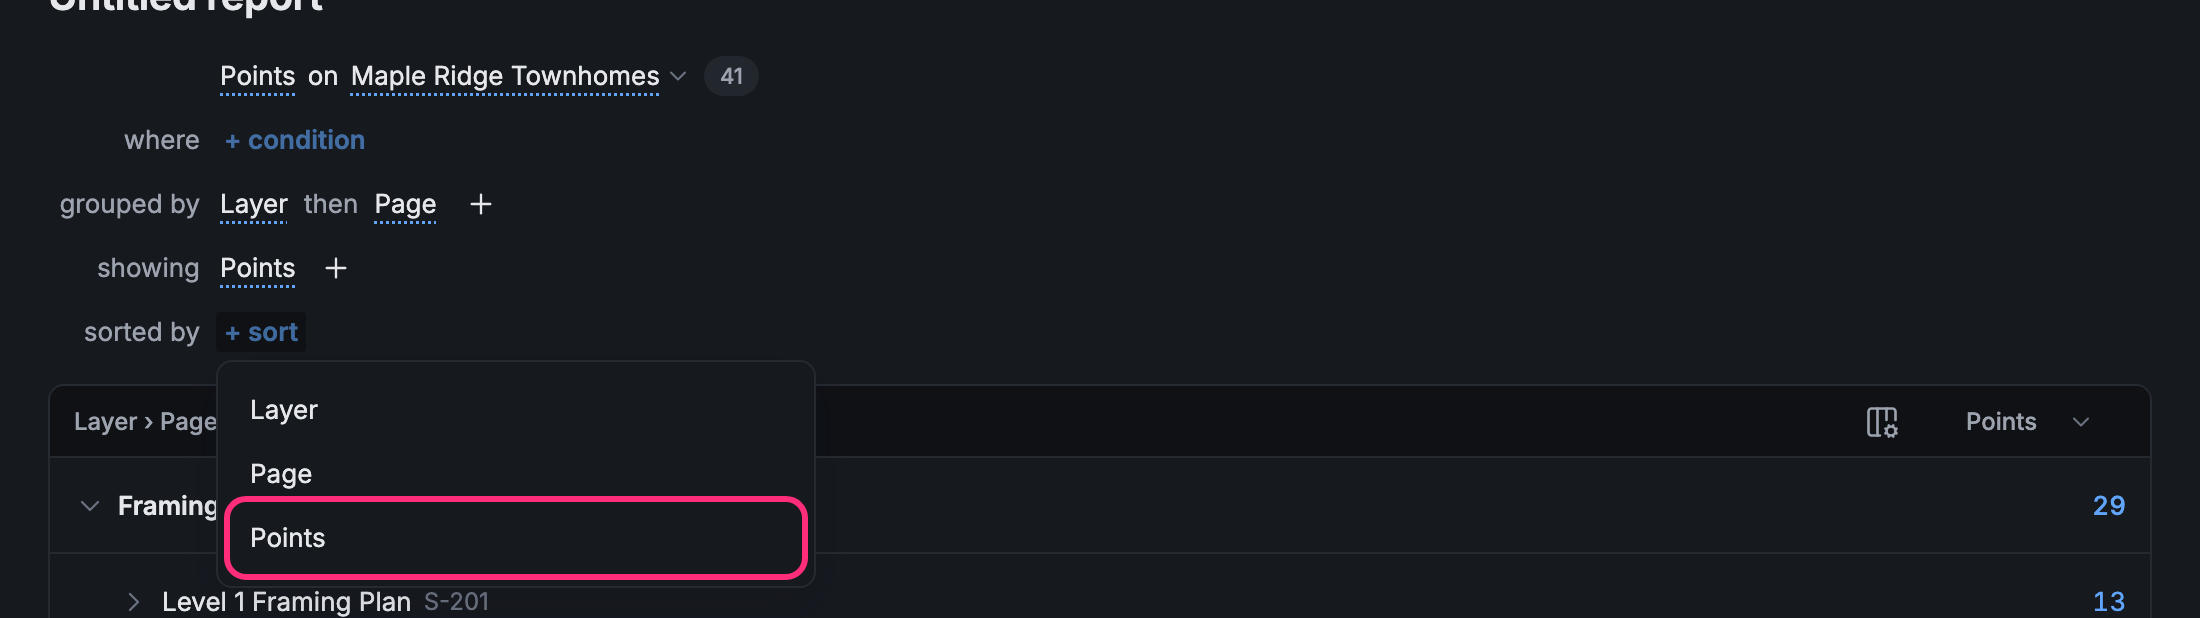
A number sorts high to low first (Points ↓: the biggest count at the top). A name sorts A to Z (Page ↑).
Change the sort
Section titled “Change the sort”Click the sort to change it:
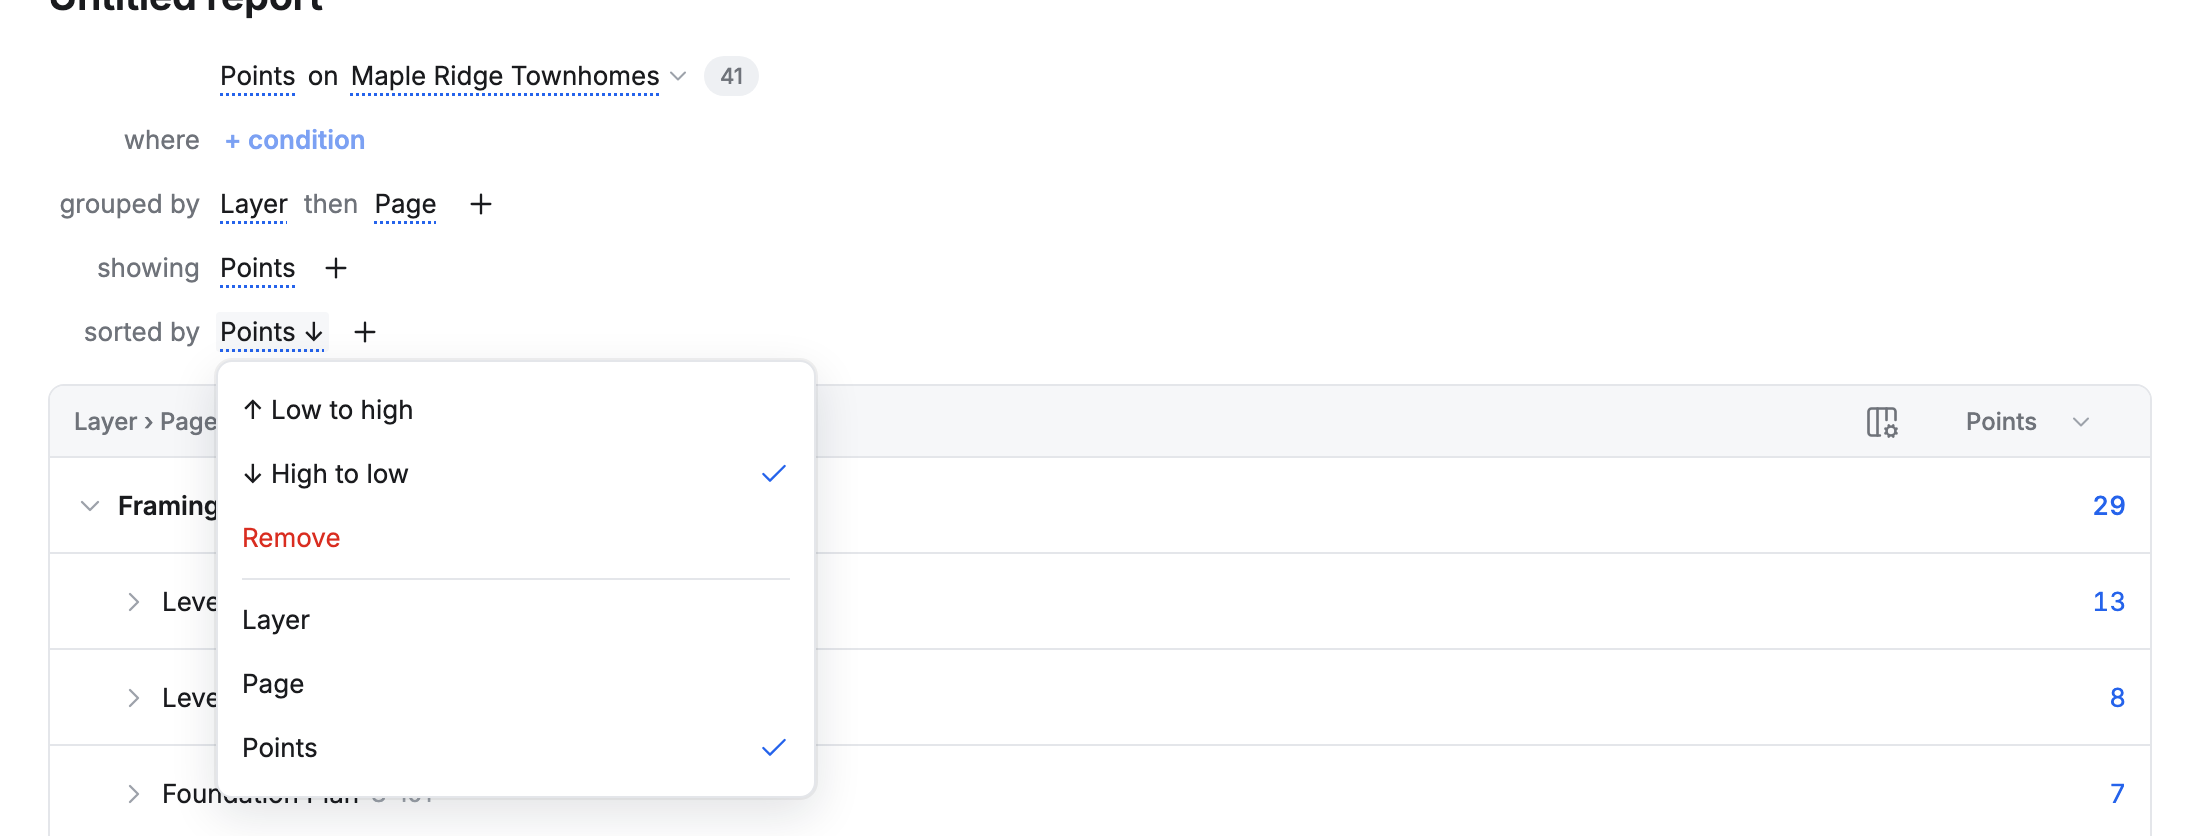
- ↑ Low to high or ↓ High to low turns it around.
- Remove takes it out.
- Pick another of the fields under the line to sort by it instead.
Sort by more than one thing
Section titled “Sort by more than one thing”Click + after the sort to add a second one. The rows sort by the first, and rows that tie are sorted by the second: here the most points first, and pages with the same count in page order.


A report sorts by two things at most: with two, the + is grayed out.
Sorting the table vs. sorting the report
Section titled “Sorting the table vs. sorting the report”Clicking a column’s name at the top of the table also sorts the rows, but only for you, and only until you leave. A sort in sorted by is part of the report: it’s saved with it, and everyone who runs the report sees that order.
Save it
Section titled “Save it”- Click Save… in the bar at the top.
- Type a NAME for the report and click Save.
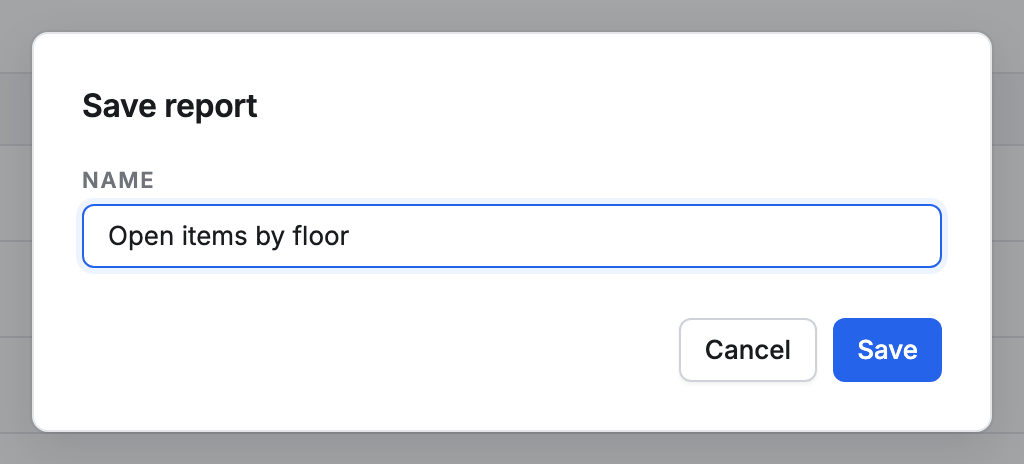
The report is now in the Reports list for your company. To throw the new report away instead, click Discard.
To build from a report you already have, copy it first: see Change a saved report.