Draw markup on a drawing
Markup is what you’d draw on a paper set with a red pen: a cloud round a change, an arrow to a problem, a note in the margin. It sits on the drawing beside the points, and everyone on the project sees it.
Pick a tool
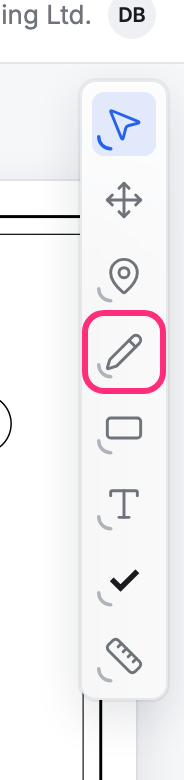
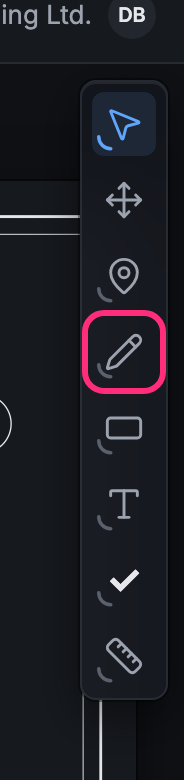
Section titled “Pick a tool”The tools are the buttons on the right of the drawing. From the top: Select, Move, Point, then the markup tools: Draw (a pencil), Shapes (a rectangle), Text, Stamp (a check mark) and Measure (a ruler).
-
Press Draw. It turns on the tool it shows, the Pen at first.
-
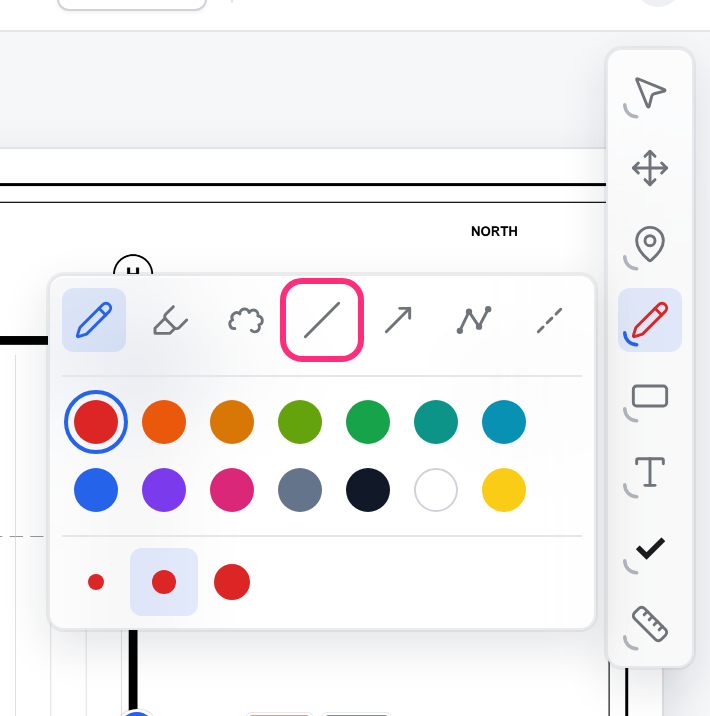
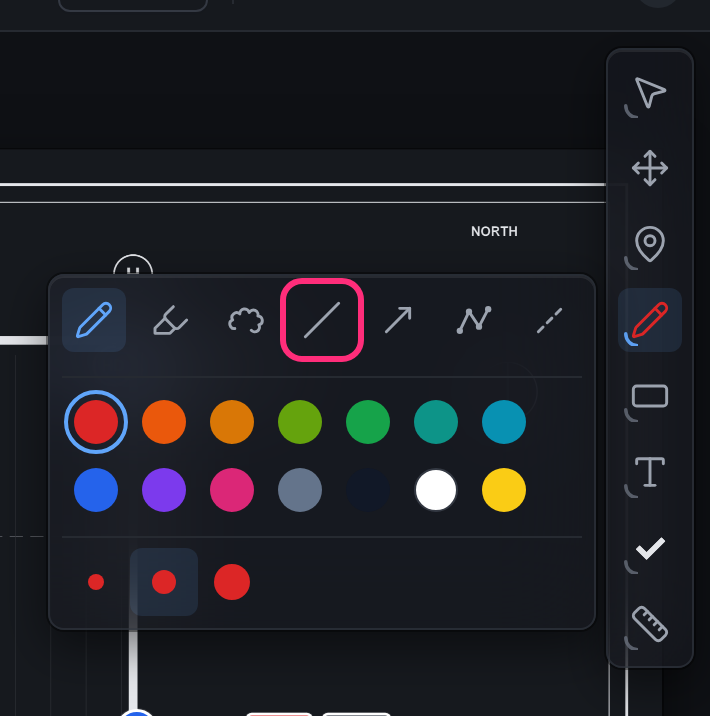
Press Draw again to open its panel: the tools in the group, the colors, and three weights (Thin line, Regular line, Thick line).
-
Pick a tool, for example Line. To draw in another color, open the panel again and pick one: the panel closes and the tool stays on.
The button now shows the tool you picked, and the next press turns that one on. A tool stays on after you draw, so you can draw several marks in a row. Pick Select when you’re done.
The weight you pick is the same for every tool.
Draw a line or a pen stroke
Section titled “Draw a line or a pen stroke”- Pen and Marker: drag on the drawing. The marker draws a see-through band, like a highlighter.
- Line, Arrow and Dashed line: drag from one end to the other, or click one end and then the other.
Hold Shift to keep a line level, or to straighten a pen stroke.
Draw a shape
Section titled “Draw a shape”The Shapes panel has Rectangle, Ellipse and Area, and for each shape a fill: Outline, Tint or Fill only.
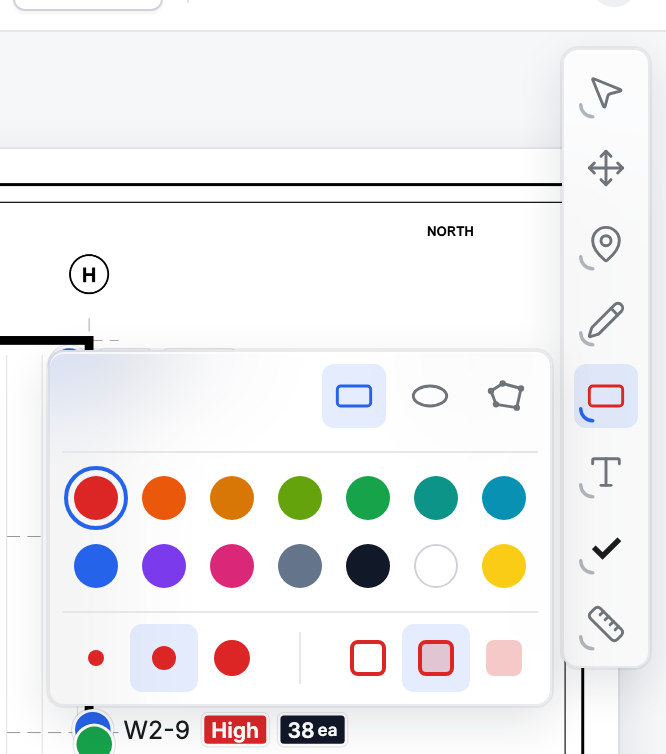
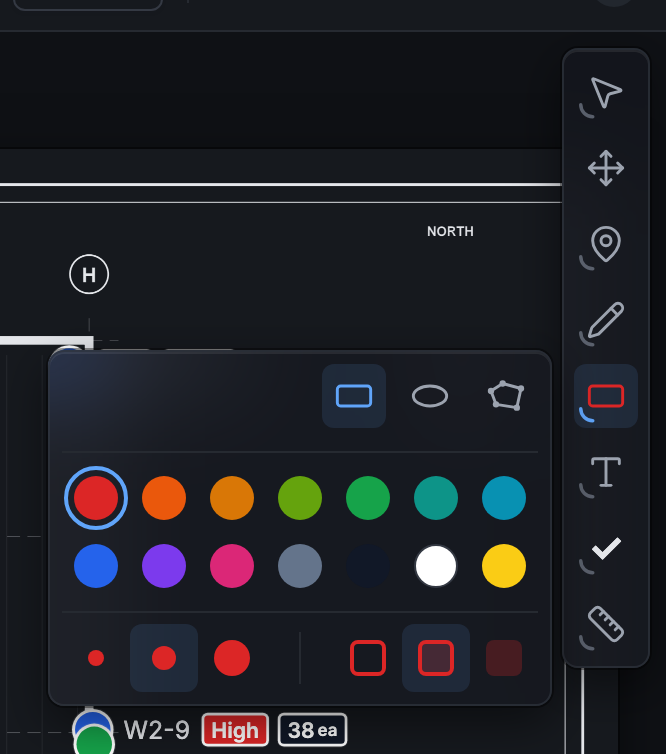
Drag to draw a rectangle or an ellipse, or click one corner and then the opposite one. The new shape is selected, with a handle at each corner, and its options open beside the tools.
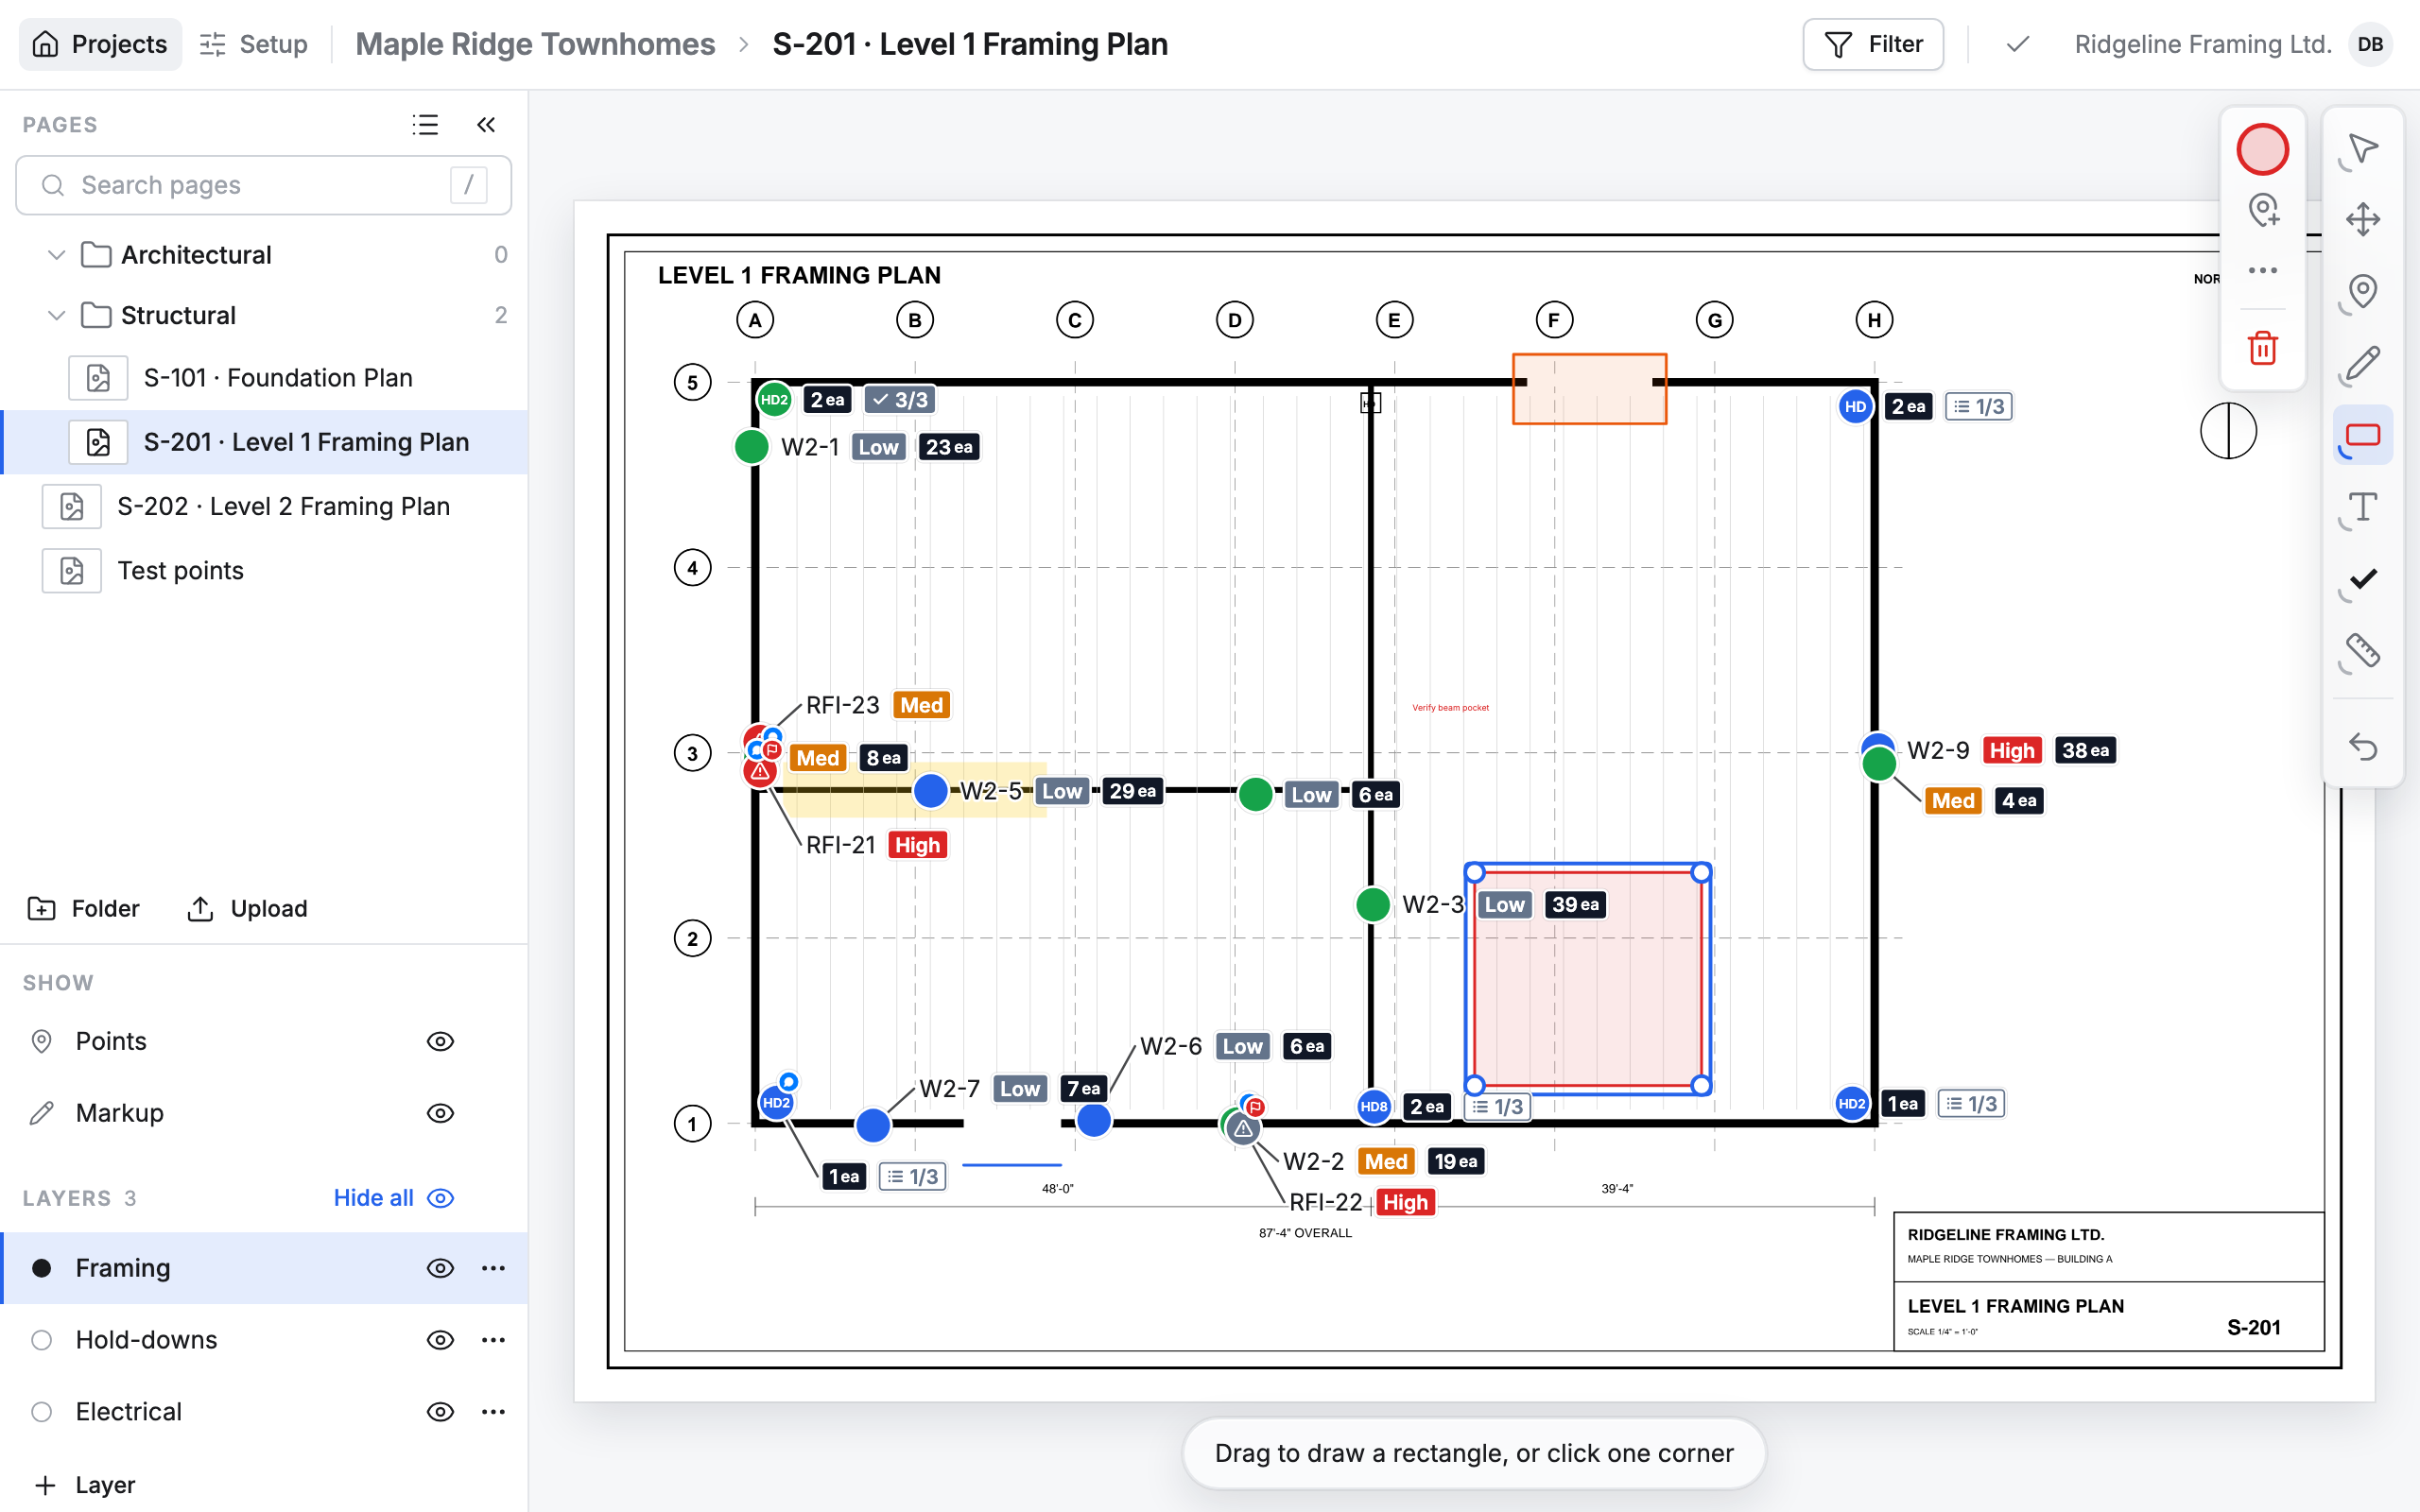
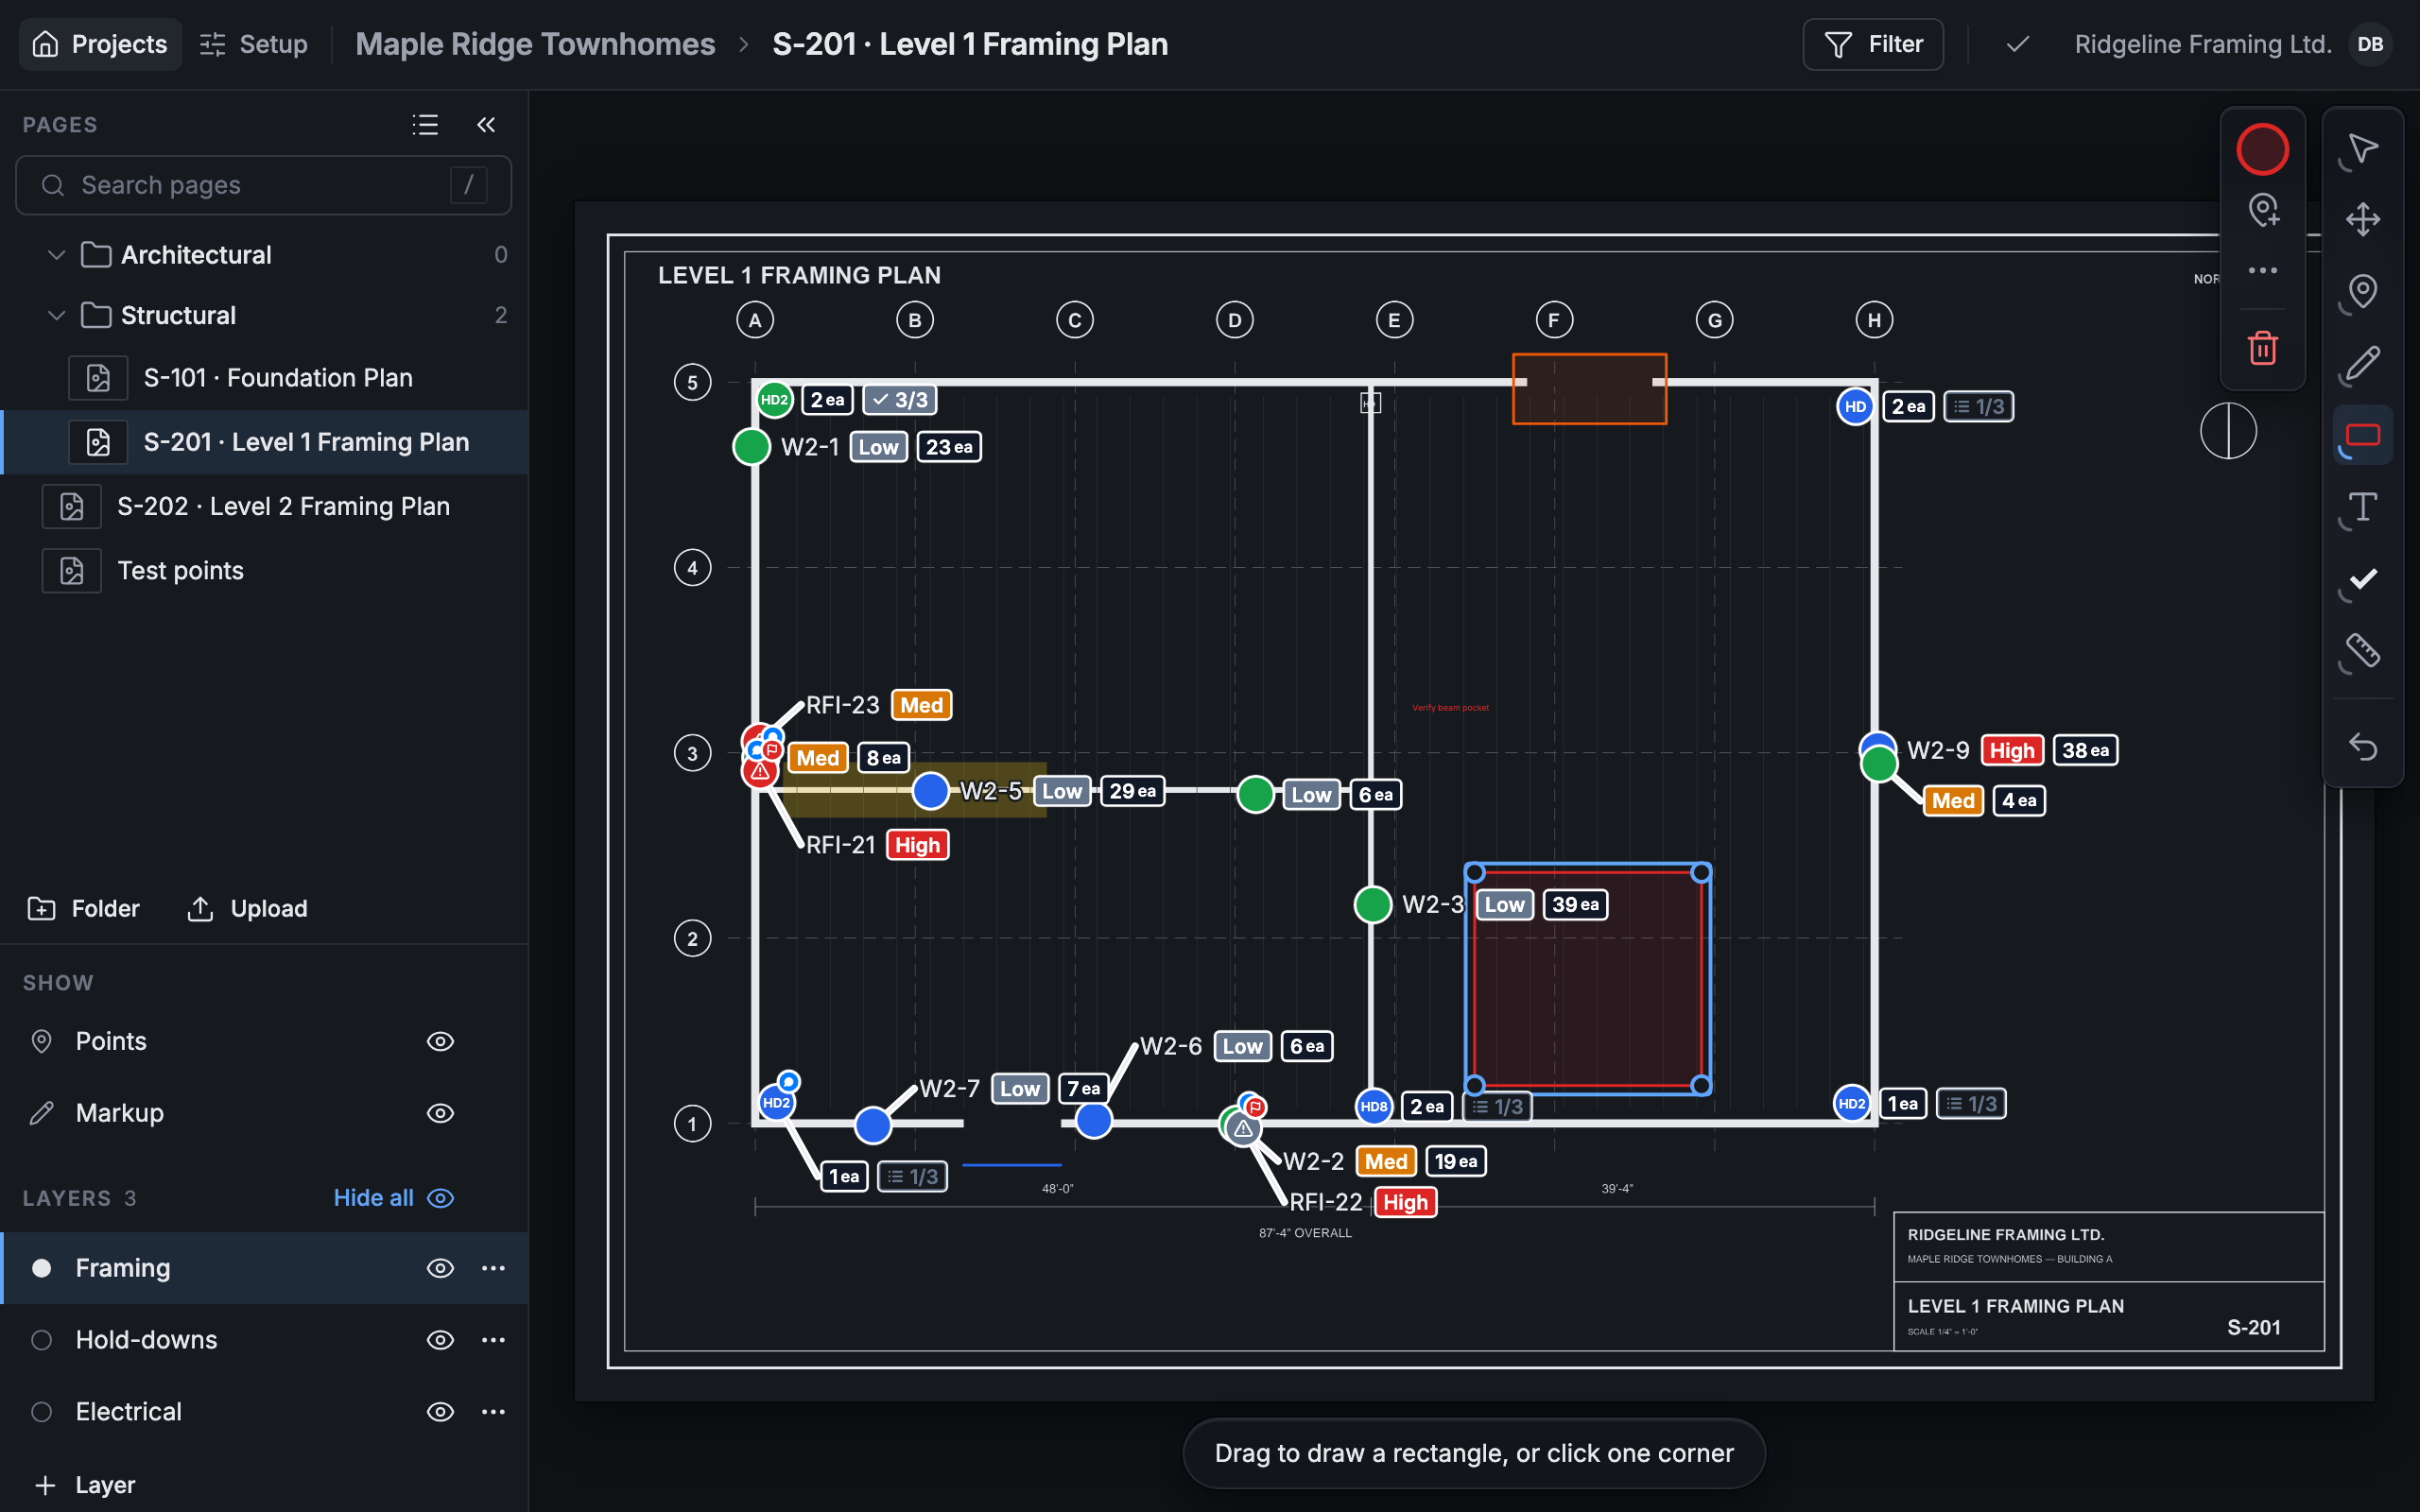
Hold Shift to draw a square, or Option to grow the shape from where you started. For an Area, click each corner, then double-click to close it.
Draw a cloud
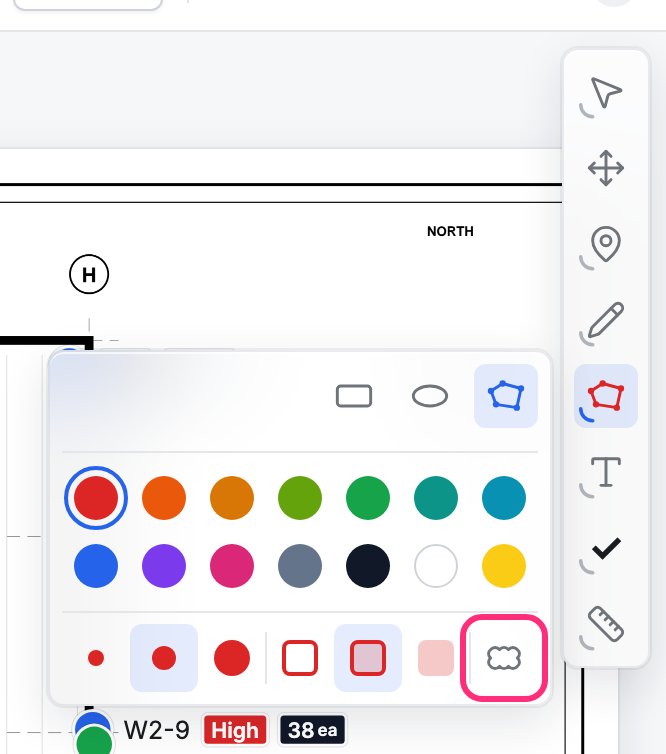
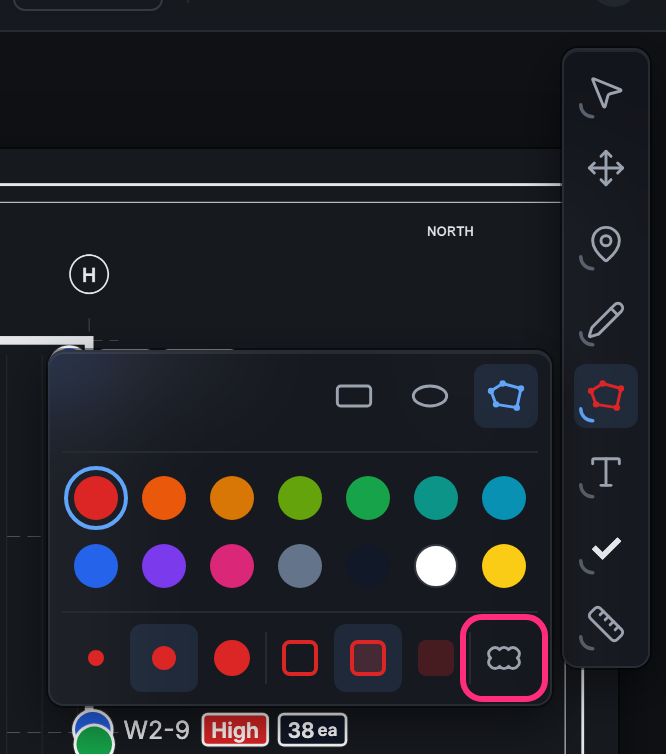
Section titled “Draw a cloud”A cloud is an Area with a scalloped edge, the way you’d mark a change on a paper set.
-
Open the Shapes panel and pick Area.
-
Press Shapes again and turn on Cloud edge.
-
Click each corner of the cloud, then double-click to close it.
Cloud edge stays on: the next time you pick Area it draws a cloud again, until you turn the switch off. Press C to pick Area with Cloud edge on.
Add text or a callout
Section titled “Add text or a callout”-
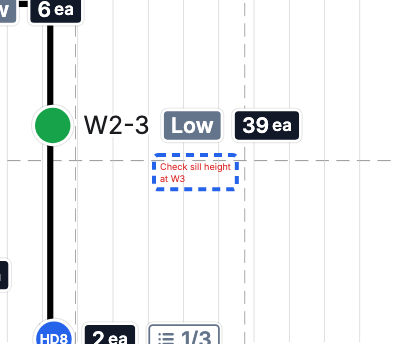
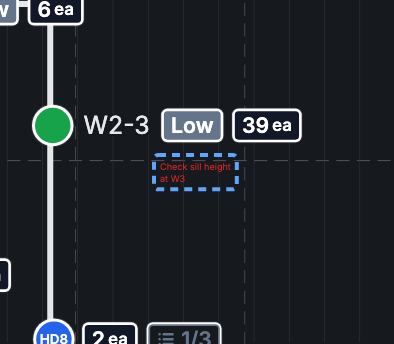
Press Text, then click where the words go.
-
Type them right there on the plan. Enter starts a new line.
-
Press Esc, or click anywhere off the words, to keep them. Changed your mind? Undo takes them back.
On a phone or an iPad, Return starts a new line. Tap anywhere off the words to keep them.
For a callout, open the Text panel and pick Callout (or press T twice). Click the spot it points to, then where its words go, and type them. Click on the edge of a shape, a line or a point and the callout attaches to it, and follows it when it moves.
The Text panel also has a Box switch, to draw a box round the words, and a slider for their size.
Stamp puts a mark with one click: ✓, ✗, !, ?, ★, ▲, OK or FIX. Press Stamp again to pick which, and its color.
Keys for the tools
Section titled “Keys for the tools”| Key | Tool |
|---|---|
| D | Pen |
| H | Marker |
| L | Line; press again for Arrow, Polyline, Dashed line |
| R | Rectangle; press again for Ellipse, then Area |
| A | Area |
| C | Area with Cloud edge on |
| T | Text; press again for Callout |
| S | Stamp |
| M | Measure; press again for Dimension |
| K | Calibrate scale |
To change a mark once it’s drawn, see Change or delete markup. To show or hide all markup, or put it on another layer, see Projects and pages.